Whether you shower at night or first thing in the morning, many will agree that a nice warm shower is an essential part of the day. It is important to keep our showers well maintained so they can keep us clean and fresh.
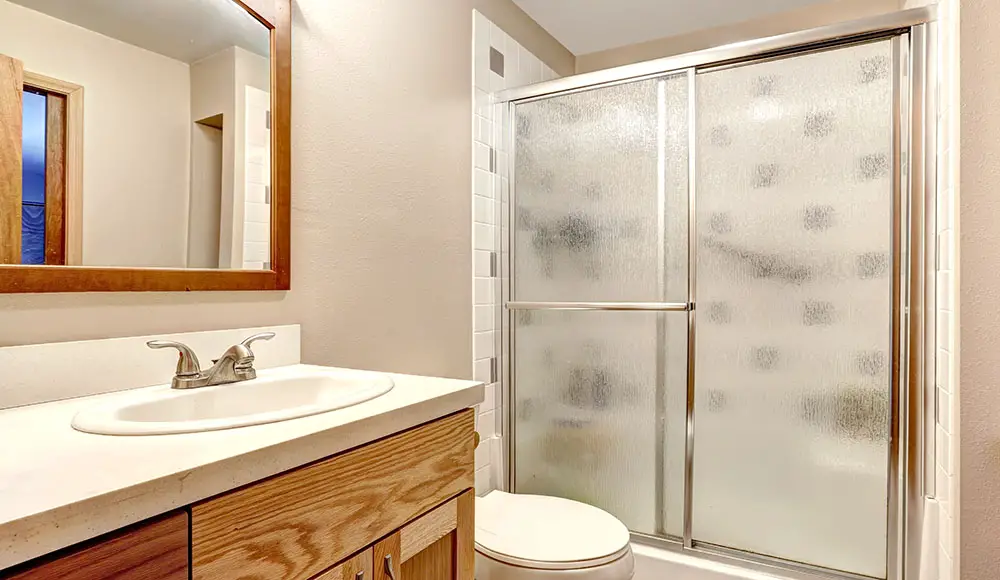
The door is the part of your shower that will receive the most wear over the years. You may have already noticed grimy black marks along the bottom of your door or even signs of rust.
If your door is starting to show its age, it may be a good idea to replace it before it breaks and leads to an injury or watery disaster.
Of course, in order to replace your door, you first need to remove it. There are some companies that will remove your old door as part of installing your new one, but if you prefer the DIY approach then here are some helpful tips for removing your shower door.
Everything You Will Need
- A sharp scalpel or utility knife
- A screwdriver and a pair of vice grips
- A caulking gun and silicone caulk
- Caulk remover
- A plastic scraper.

Step 1 – Take Down The Glass Panel
The first step when disassembling your shower door is also the most difficult and that’s removing the glass door itself. Every shower is different, so you should closely examine your door to see how it is attached, many of them simply use rollers along a track or plugs that hold it in place.
Either way taking out the door will most often require you to lift up until the runner or plug on the bottom comes free. Then, angling the door backwards to prevent the bottom from reattaching, and slowly lowering the door until the top section is detached. With runners it may be easier to remove the top first followed by the bottom.
As you can see removing the door itself is simple, but what makes this the hardest step is that most glass panels in showers are very heavy. Make sure the floor of your shower is dry to prevent slipping while you do this. If you think you will struggle with lifting the door, then always seek the help of a friend with this step to avoid extra damage, or injuring yourself.
Step 2 – Unscrew the frame
With the glass doors removed, it is time to take apart the frame. In order to do this, you will need to go along each of the metal bars and find all the screws that hold them in place.
Starting on the top of the headrail and working down, take a screwdriver and remove all of the screws one by one. Don’t worry about the frame collapsing on you as it should still be held in place by the caulking.
Sometimes, if your door is very old and rusty, you may find a screw that is stuck. If your screwdriver can’t turn it, don’t panic. A pair of vice grips will often be enough to grip the head of the screw and force it loose.
In some cases, you may need to take down the headrail before you can unscrew the jams attached to the sides of the door, whcih will need to be removed to access the screw on the side rail.
Step 3 – Disassemble The Frame
With the screws removed you will want to pull the top rail off first as most of the time this is the only bit not caulked in place. Once the top has been placed to the side, it is time to get your craft knife and start cutting away the side railings.
To do this simply take your scalpel or other sharp knife and cut the caulking between the rails and the walls. Make sure to hold your knife parallel to the rail and further away from the wall, in order to prevent scratching the ceramic.
Don’t try and remove all the caulking you just want to cut it so the rails can be pulled free. Using this method detach both sidebars and the bottom railing.
Step 4 – Scrape Away The Leftover Silicon
With the frame completely removed, you are nearly there, but now you have to prepare the walls for installing the new door. Doing this simply requires scraping away the excess caulking that was holding the frame in place.
Don’t use your knife for this bit, as you risk damaging the ceramic. Instead buy a plastic scraper, available online or from any DIY shop, or simply use an old credit card to remove the old silicone.
Scrape as much caulking off as you can without damaging the walls followed by your preferred brand of caulk remover for any stubborn patches.
Step 5 – Fill In The Screw Holes
Even if you’re are thinking of just replacing the old door with a new one of the same model, it’s still a good idea to fill in the holes left by the screws you removed earlier. Screwing directly into the old holes could lead to the frame being loose or unstable.
To fill in these holes, grab your caulking gun and squirt a small amount of silicon into each hole. Use your plastic scraper or credit card to remove any excess for a nice clean job. Not only will this make the walls look much better, but it will also provide much more grip putting in new screws.
And You’re Done
Just like that your old door has been disassembled and the walls are ready for you to install the new one. As you can see removing a shower door isn’t difficult and anyone can do it with just a few basic tools.
Remember if your door is too heavy for you to lift by yourself, just ask a friend to help. Scraping away the grimy caulking isn’t the most pleasant of jobs, but once its done your bathroom will look much cleaner and it will be easier fit a new shower door later on.