Hey! This site is reader-supported and we earn commissions if you purchase products from retailers after clicking on a link from our site.
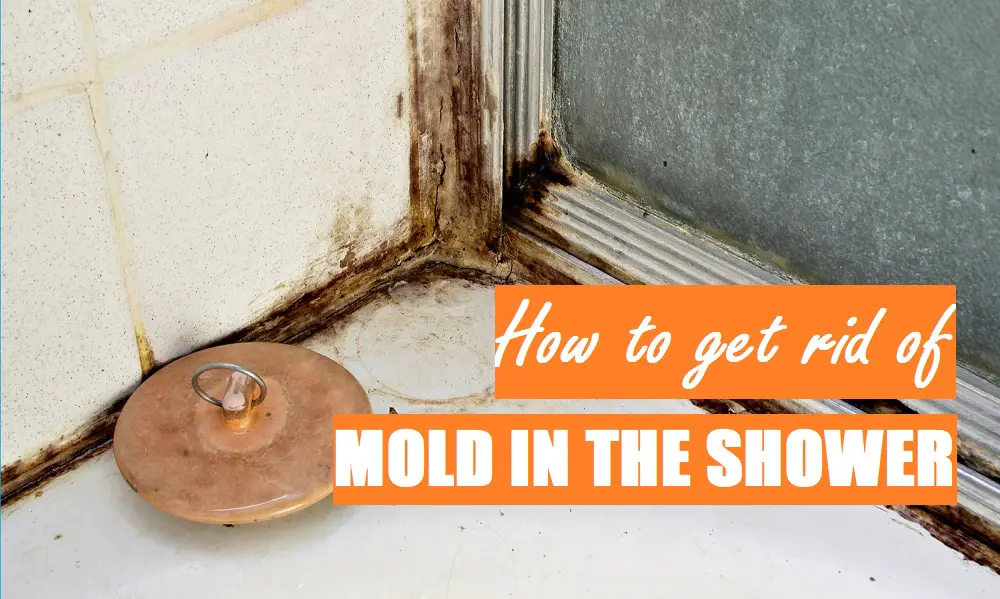
Having mold in your shower is a difficult and challenging issue that you need to address promptly. A moldy shower will not only reduce the value and appearance of your home, but it will also put your health on the line. Mold that grows in your home can cause: allergies, respiratory illnesses and more if you don’t act at the first signs of trouble.
You can clean your shower and make it look like new if you use a proven plan. The mold will be gone before you know it when you keep the right tips near the top of your mind, and you will smile when you see the mold-free outcome. Mold does not need to take over your shower, and you can reclaim your bathroom as soon as you are ready to begin.
See also: How to Clean Your Showerhead
Step 1. Get Your Supplies
Getting your supplies is a good place from which to start when your mission is to combat mold growth in your shower, and hydrogen peroxide, bleach and a spray bottle are what you will use to get your problem under control before it gets any worse than it already is.
You should also grab a few pairs of gloves and a scrub brush, and you will be ready to begin. Make a quick trip to the store if you don’t have the supplies on hand, and creating a list of the required items will ensure that you don’t forget anything. Depending on where you shop, you can get everything you need for less than $15.
Step 2. Apply Hydrogen Peroxide

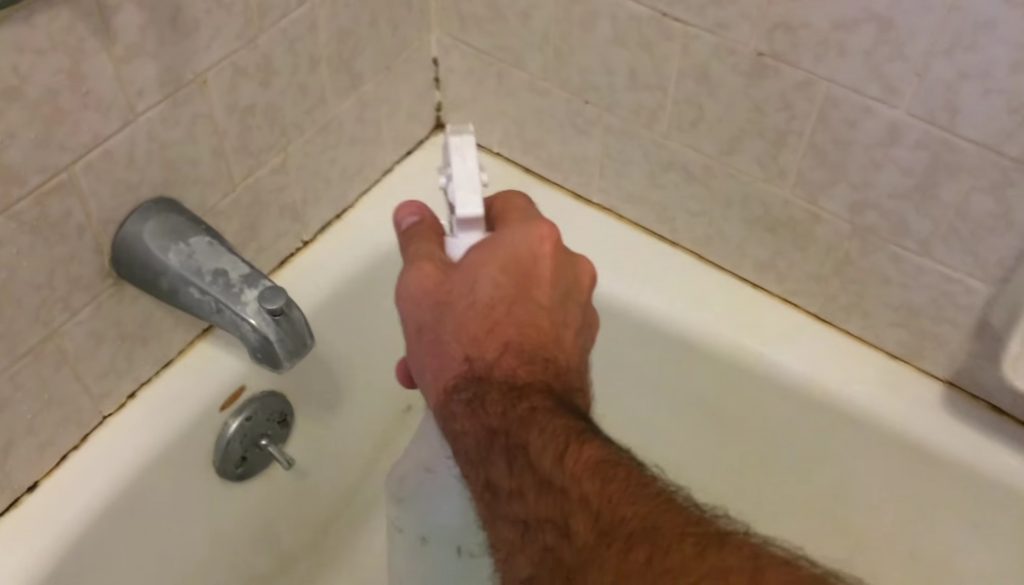
The second step is to pour the hydrogen peroxide into a spray bottle to attack the mold at its source. If your bathroom is dark, don’t forget to turn on the light if you don’t want to miss any spots. You will spray one or two squirts on each visible patch of mold in and near your shower to start the sanitation process.
You might feel tempted to scrub your shower as soon as you apply the hydrogen peroxide, but doing so would be a mistake. Letting it sit for about an hour will give it time to weaken and kill the mold, giving you the best possible results. Next, use your scrub brush to get the mold off your walls and floors, giving your shower an unbeatable appearance.
Step 3. Apply Bleach
In most cases, the hydrogen peroxide will remove a lot of the mold, but some will remain. Bleach is the best tool to get rid of stubborn patches of mold that don’t want to leave you alone, but you need to use gloves so that you won’t harm your skin. Also, open your doors and windows for ventilation while you create the solution.
Rinse the remaining hydrogen peroxide off the walls with cold water before you spray the bleach on the mold. Mixing one cup of water with one cup of bleach creates the perfect solution to teach mold a lesson, and you can then put the liquid in the spray bottle. When you are done, let the bleach sit for an hour before you scrub and wash it off. Repeat this step as many times as you need to remove every trace of mold from your shower.
Read: How to Clean a Fiberglass Shower
Final Thoughts
If you don’t want mold to take over your shower and cause health problems, you can’t waste time when it comes to addressing the threat. Using hydrogen peroxide will weaken the mold, but a 50-50 solution of bleach and water will finish the job, killing the mold and preventing it from coming back. Although getting your desired results will take time and effort, having a mold-free shower is always worth the investment. You will be glad that you followed proven steps, but you will also feel much better each time you step into the shower.
Serious about upgrading your shower? We created a special guide for you. We evaluated hundreds of shower heads and narrowed down our discovery to these 12 shower heads that we think are the best of the best. Whether you love intense high pressure, soothing rainfall, saving water, or rocking out to music in the shower – we’re confident you’ll find the perfect fixture for you.