Hey! This site is reader-supported and we earn commissions if you purchase products from retailers after clicking on a link from our site.
Dripping showerheads are more than minor annoyances. They also can drive up your water bills. If you have a dripping showerhead, there are some simple steps that you can take to fix it that may help you to avoid calling a plumber. You will need to collect a few tools and other items together so that you can complete your project.
Step one: The materials that you will need
Before starting your project, you will need to gather the materials that you will need. You will need to gather the following items:
- Crescent wrench
- Towel
- Vinegar
- Ziploc bag
- Rubber bands
- Old toothbrush
- Teflon tape
- O-rings or washers
Step two: Turn off the water
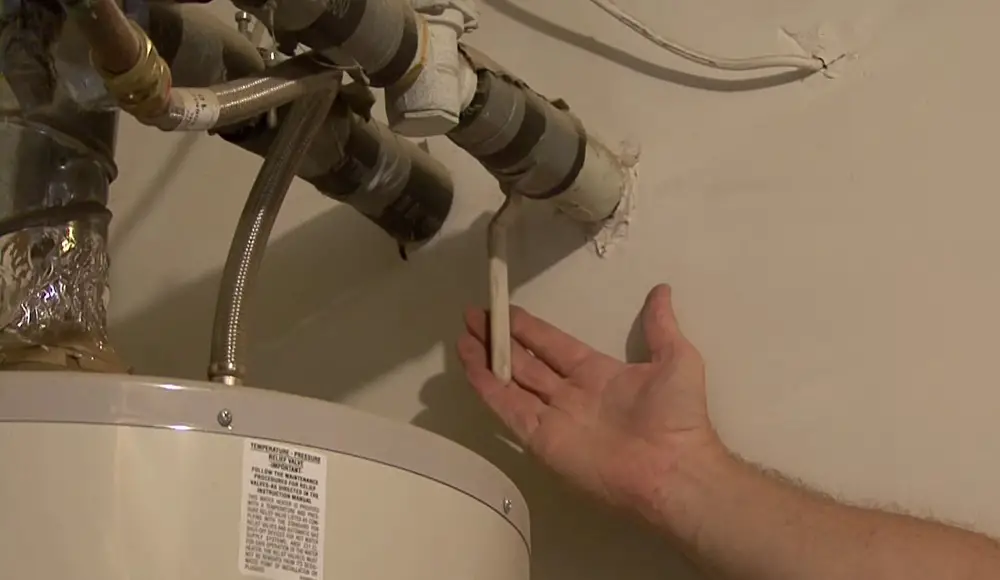
Before you can work on your dripping showerhead, you first need to turn off the water. Turn off the water to your house at your water main. Then, get a towel ready because there likely will be water that still remains in the pipe.
Step three: Unscrew the showerhead
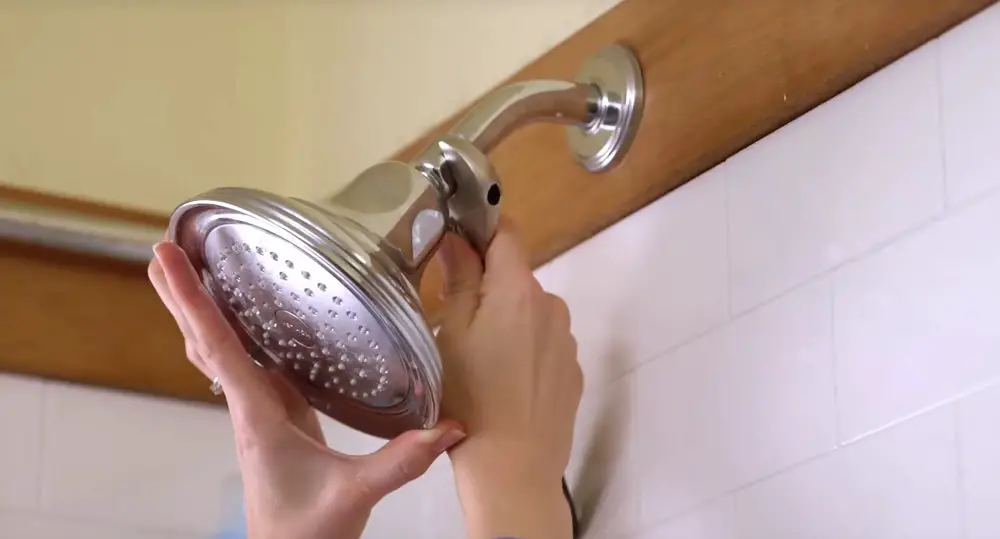
Start by trying to unscrew your showerhead with your hands in a counterclockwise motion. If it won’t turn, use a crescent wrench to loosen it and then unscrew it. If it is stuck, fill a Ziploc bag with vinegar and fasten it around the showerhead, making certain that you have enough vinegar to cover the threads where it screws on to the shower arm. Leave the bag in place overnight. The vinegar should help by dissolving minerals that may have built up on the threads, causing the shower head to stick. Remove the showerhead.
Step four: Inspect the showerhead
After you have removed the showerhead, look at the threads that are inside of it. You will be looking for a rubber o-ring or plastic washer inside of the showerhead. If this o-ring or washer appears to be worn, replace it. Many drips are caused by damaged o-rings or washers.
Step five: Clean the showerhead
While you have the showerhead off, you should clean it to clear out any clogs that might be inside some of the holes. Bring some vinegar to a boil on the stove and then turn the heat off. Place the showerhead in the vinegar and allow it to soak for about half an hour. Once it has soaked, use your old toothbrush to thoroughly clean the showerhead.
Step six: Tape the pipe threads
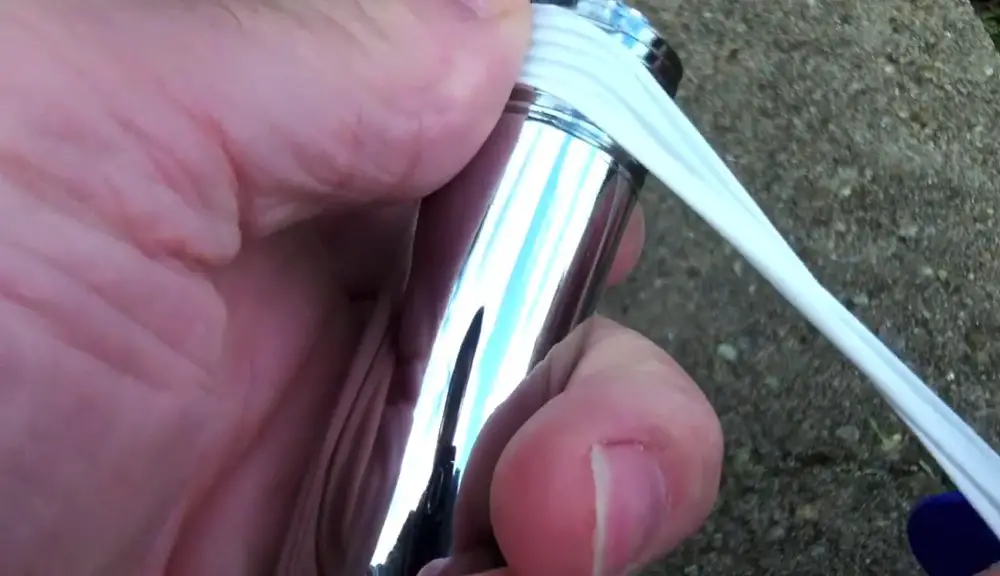
Next, use your Teflon tape to tape around the threads of the pipe that your showerhead screws on. You should only use a thin strip of the tape, however.
Step seven: Reattach your showerhead
Finally, screw your showerhead back onto the shower arm. After it is reattached, turn the water back on to your house at the main. Test out your shower to make certain that the dripping issue is gone. If it still drips, you may have a leaking faucet that you will need to repair.
Fixing a dripping showerhead can help you to save money on your water bills. It is important that you do not use too much force so that you don’t end up causing cracks and bigger issues. By following these steps, you may be able to fix your dripping showerhead without having to call a plumber.
Serious about upgrading your shower? We created a special guide for you. We evaluated hundreds of shower heads and narrowed down our discovery to these 12 shower heads that we think are the best of the best. Whether you love intense high pressure, soothing rainfall, saving water, or rocking out to music in the shower – we’re confident you’ll find the perfect fixture for you.