Hey! This site is reader-supported and we earn commissions if you purchase products from retailers after clicking on a link from our site.
If you have noticed that you are unable to turn the water in your shower completely off, you may need to replace your shower cartridge. The cartridge is the piece of pipe connecting your handles to the internal valve to change the water supply from your bathtub to your shower. You may also need to replace your shower faucet cartridge if you see water spraying out around your shower handles. Here is how you can change your cartridge yourself as a simple do-it-yourself project.
Step one: Gather your supplies
Before you get started, you will need to gather the following supplies together:
- Flat head screwdriver
- Small knife
- Phillips screwdriver
- Allen Wrenches (5/32 Hex is a common size)
- Spray lubricant
- Needle Nose Pliars
- Visegrip or Linemens Pliars
Step two: Prepare
Turn off the water to your shower. You can either do this by turning the shut-offs behind the handles with your flathead screwdriver or by turning it off to your bathroom or house.
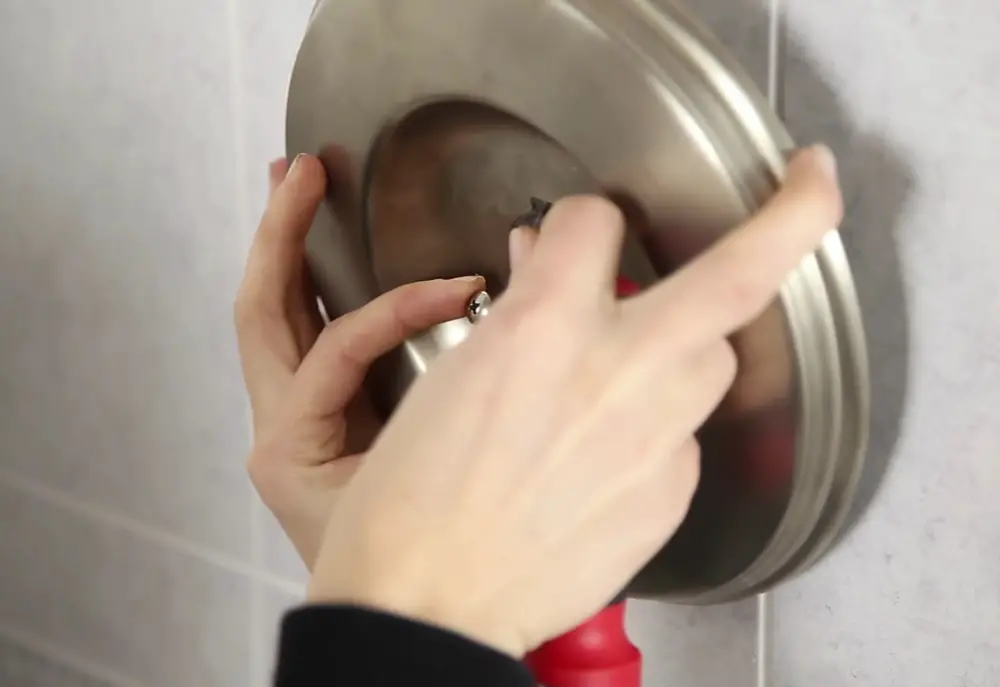
Step three: Remove the handle
Most shower handles are held in with a small screw, typically a 5/32 hex. Begin by removing the faceplates using either a screwdriver or allen wrench depending on your setup. Remove this screw and you should be able to pull it off revealing the end of the shower cartridge.
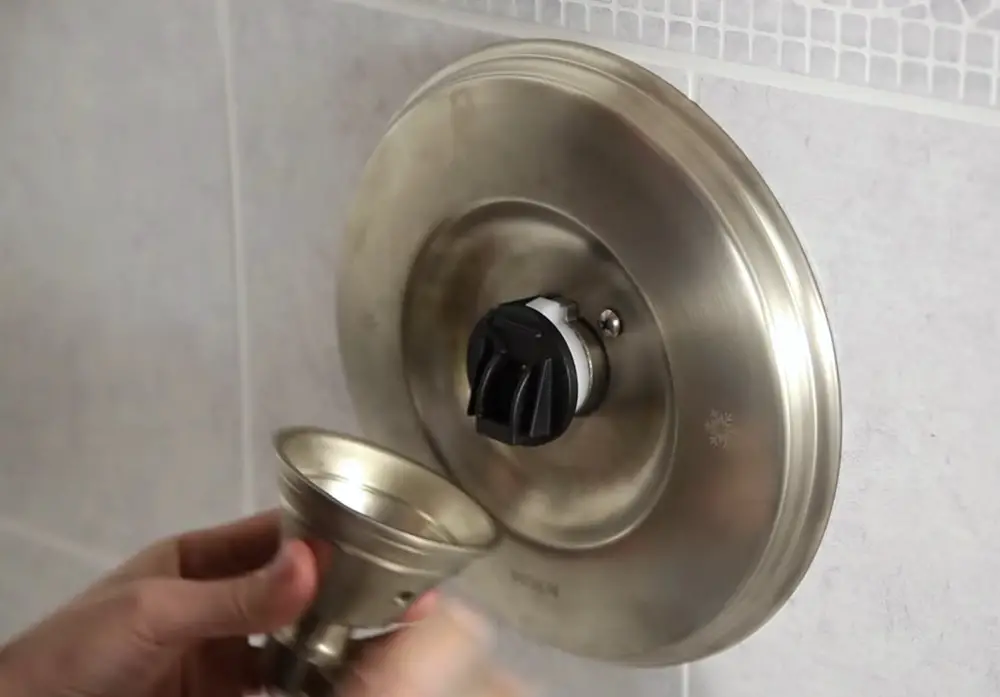
Step four: Remove the faceplate that surrounds the cartridge
Normally, there is a faceplate (or trim plate) that surrounds the faucet cartridge. Depending on your setup, there may be a couple of phillips screws holding it onto the wall. In other setups you may need to use a standard wrench to turn it. If there is any caulk around the faceplate, you might need to start by cutting it with your small knife.
Step five: Remove the metal sheath surrounding the shower cartridge
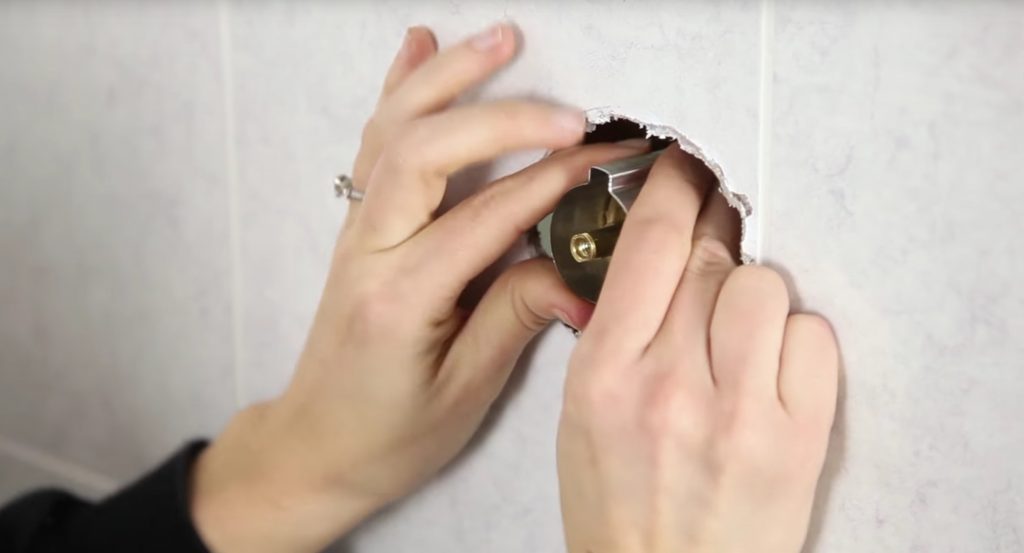
Wiggle loose the metal sheath surrounding the cartridge, it should be removable by hand. You may need to use a pliar to pull it out being careful not to damage the metal.
Step six: Remove the pin holding the cartridge in place
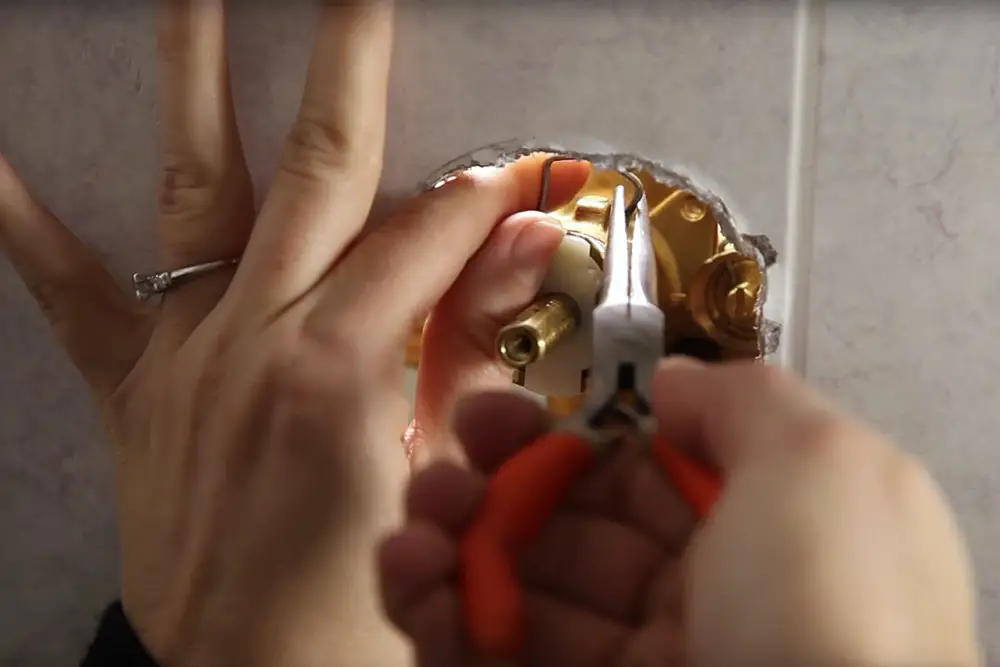
Using a pair of needle nose pliars, remove the U shaped pin holding the cartridge in place.
Step seven: Remove the cartridge
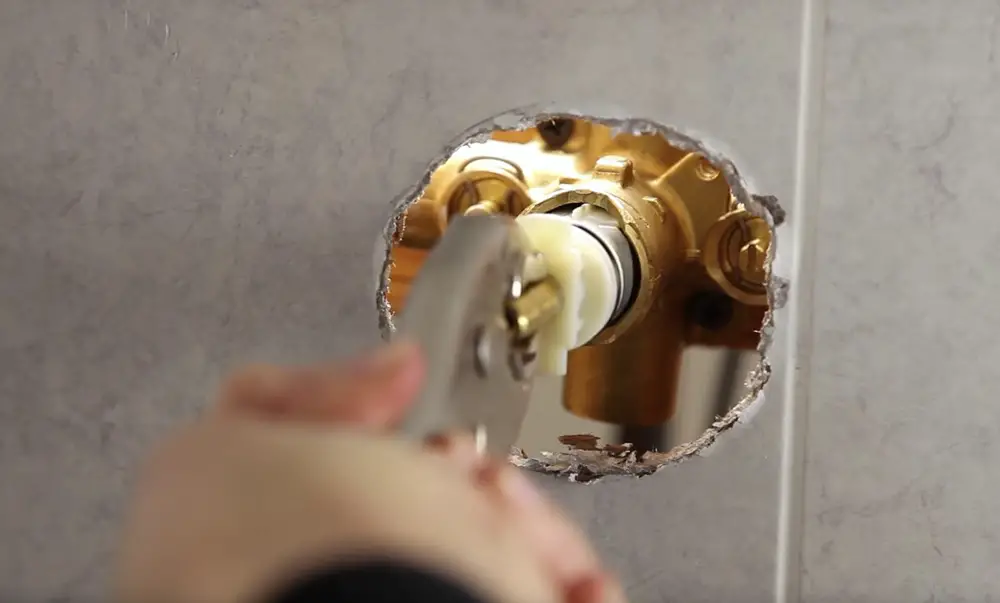
Once you have removed the faceplate and pin, you are ready to remove your shower cartridge. Using a pair of pliars or visegrips you should be able to pull the old cartridge out as shown in the photo above.
Step eight: Buy a new cartridge
After you have removed your old cartridge, you will need to go to the home improvement store to buy a new one. Since there are several different types of shower hardware, you should not purchase a new one until you have removed the old cartridge. Take it with you to the store so that you can make certain that you buy the right cartridge.
Step nine: Install your new cartridge
Spray your new cartridge with the spray lubricant and install the cartridge in the same manner you removed the old or defective cartridge. Replacing the U shaped clip that holds the cartridge in, reattaching the trim plate, and the handle. After you have done so, turn the water back on so that you can test your shower. If it is working properly, you can put away your tools and clean up after yourself.
Replacing a worn shower faucet cartridge can help you to save money on your water bills. It is possible for you to complete this repair by yourself so that you can enjoy having a shower that functions correctly again. Simply make certain that you have gathered the right tools and supplies together, and be prepared to spend a couple of hours completing this project.