Hey! This site is reader-supported and we earn commissions if you purchase products from retailers after clicking on a link from our site.
The National Energy Act requires that manufacturers install flow restrictors in showerheads. The small plastic screen, also known as a water restrictor, reduces water as it moves through the showerhead to approximately 2.5 gallons per minute. This conservation device is intended to save water and reduce energy bills.
If you live in a community with low water pressure, the restrictor may reduce the movement of water to a slight trickle. Removing the water restrictor will allow the shower to flow unrestricted. Unfortunately, it may also increase your water bill. The following guide will help you perform the steps required to remove the restrictor if you want to increase the flow of the water in your shower.
Materials that You Will Need
Before beginning this do-it-yourself project, gather the required supplies. These include:
? An Adjustable Wrench
? A Flathead Screwdriver
? A Pair of Needle-Nose Pliers or Tweezers
? A Clean Rag, Cloth or Towel
? Teflon Plumber’s Tape
Removing the Showerhead
Ensure that the water faucets are in the ?OFF? position. Turn the diversion valve so that any water trapped in the supply pipe drains out of the showerhead. This step will minimize the amount of water that will flow out of the showerhead and pipe while you are working.
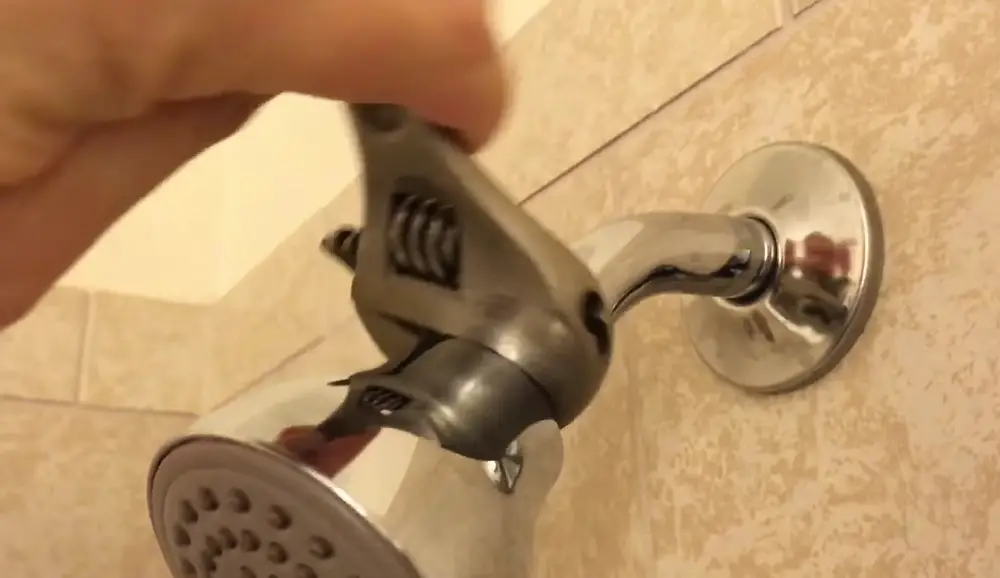
Locate the showerhead fitting where it connects to the supply line coming from the wall. Loosen the showerhead by using the adjustable wrench to turn the fitting counterclockwise. Once it is loose, unscrew the showerhead by hand.
Remove the Restrictor
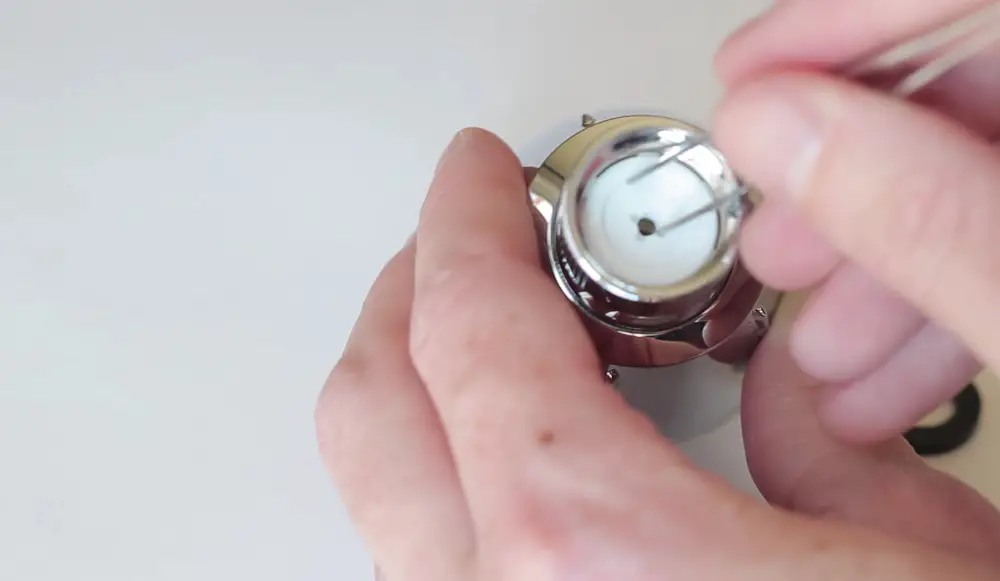
After removing the showerhead, look inside the supply side of the fixture. Locate the plastic restrictor. Gently pry it out with the flathead screwdriver, or grasp it with tweezers or needle-nose pliers. You may have to remove a rubber gasket or an O-ring first. Take the necessary precautions to avoid damaging the gasket, or O-ring, when using your screwdriver to pry it out of the showerhead. Replace the gasket after you remove the flow restrictor otherwise you may experience a leak.
Replacing the Showerhead
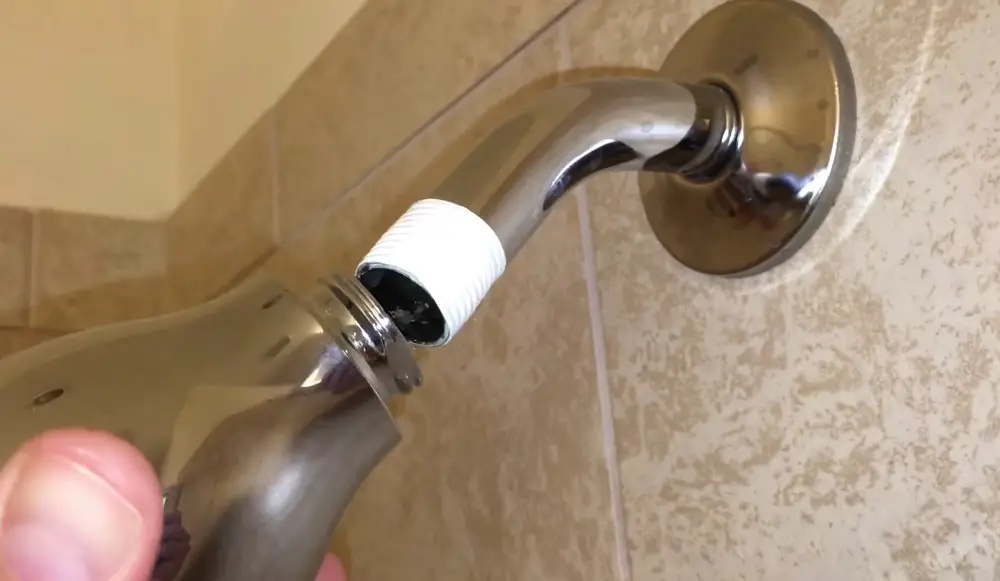
Wrap a layer of Teflon plumber’s tape around the threads on the end of the supply line. The tape will help seal the connection. Reattach the showerhead by gently screwing it to the supply line. Turn the showerhead fitting clockwise. Avoid cross threading or stripping the fitting because it will cause the showerhead to leak. After tightening the showerhead snuggly by hand, wrap it with a towel or cloth. Use the adjustable wrench to fully tighten the connection taking care not to forcefully tighten it because the tension will break the showerhead or damage the fitting.
Test for Leaks
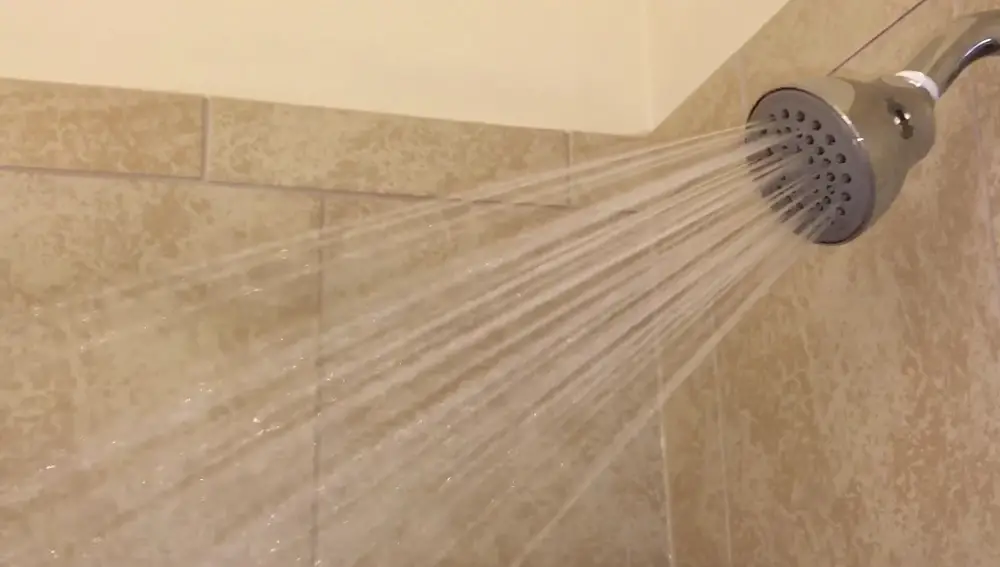
Turn on the cold-water faucet and then turn the diversion valve so that water flows through the showerhead. Check for any leaks. If you notice a leak, tighten the showerhead slightly to see if this corrects the problem. If water still leaks around the fitting, turn off the water. Carefully remove the showerhead, apply another layer of plumber’s tape and then check the fixture again. Ensure that you gently tighten the fixture so the fitting does not cross thread. After completing these steps, store the flow restrictor in a safe place in case you want to reinstall the device in the future.