Hey! This site is reader-supported and we earn commissions if you purchase products from retailers after clicking on a link from our site.
The shower is typically the place where one cleans up, but what happens when the shower itself is no longer in pristine condition? Surfaces within the shower are exposed to water, dirt, heat, soaps, and hair products. This can take a toll on various surfaces, and the shower heads themselves are no exception. As they are typically made of metal, shower heads can be subject to rusting in addition to buildups of lime, calcium, and soap scum. As well as being unsightly, such buildup can reduce water pressure and contain harmful bacteria. Fortunately, you can use CLR to clean a shower head in just a few easy steps.
See Also: Using Vinegar as a More Gentle and Natural Shower Head Cleaning Solution
What You Need
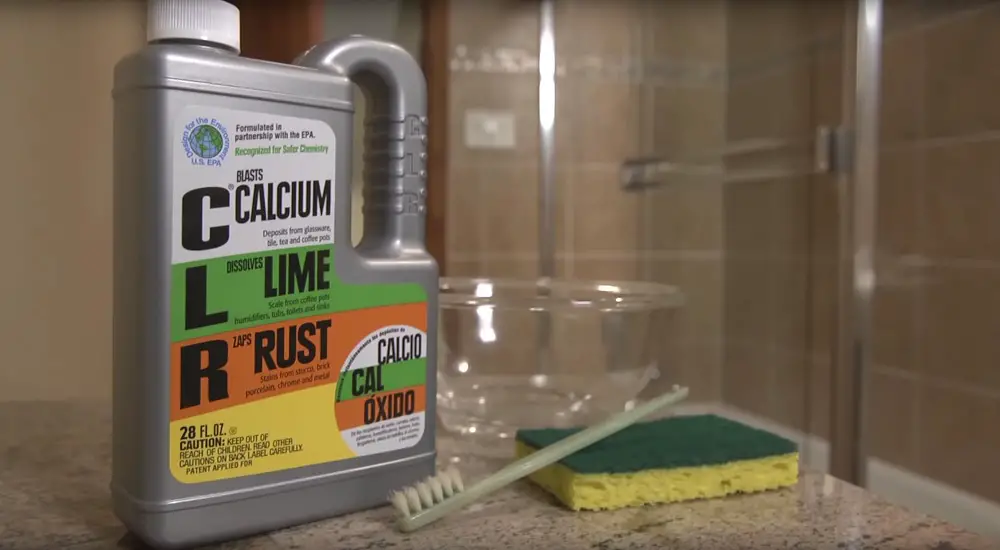
Only a few supplies are needed to clean a shower head. CLR cleaner and water will be used to do the actual cleaning. You will also need a container in which to place the shower head during the process. The container must be large enough to fully submerge the item. A cleaning brush or sponge can be used to help remove stubborn buildup. Finally, CLR can irritate the skin if kept in prolonged contact, so you may want to use a pair of water-resistant gloves while washing.
Step 1: Choose Where to Clean Your Shower Head
The name “CLR” is taken from the three things this powerful cleaner was meant to remove: calcium, lime, and rust, and it is very effective in accomplishing this. However, like many powerful cleaners, CLR can be harmful to materials on which it is not meant to be used. Some examples of materials on which CLR should not be used include:
- Laminates
- Aluminum
- Marble
- Stone
- Colored Grout
- Painted Surfaces
- Glazed Surfaces
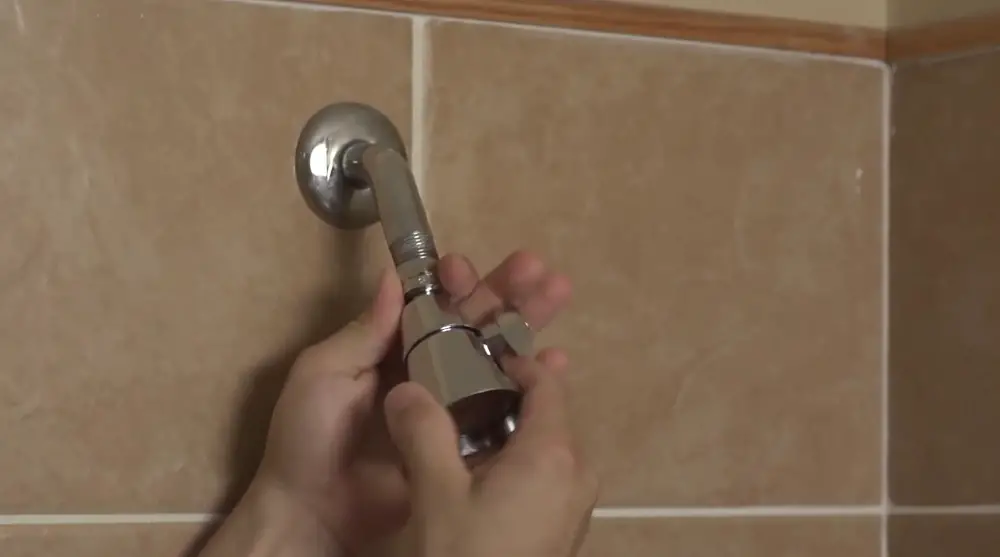
Step 2: Remove the Shower Head
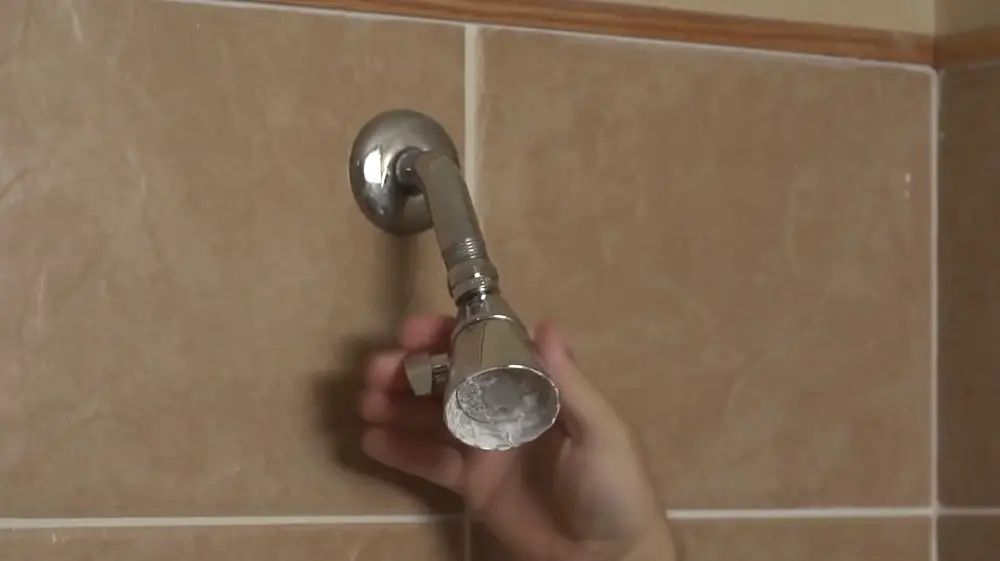
In order to properly, and safely, clean the shower head, it must be removed from the wall. It is important to follow the manufacturer’s instructions in this regard to avoid damaging the device, but many are relatively simple and can just be unscrewed. The shower head can then be moved to the chosen cleaning area.
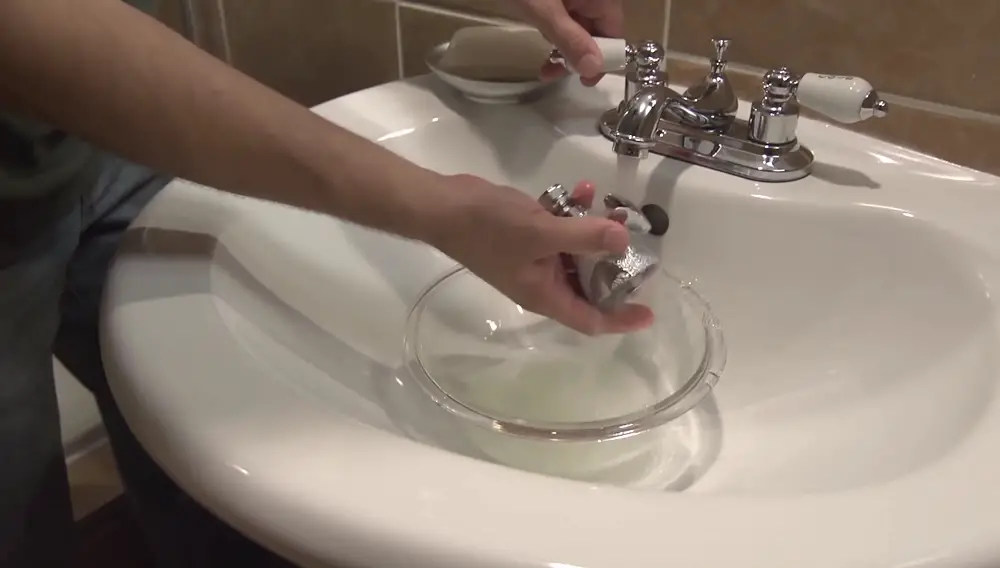
Step 3: Create and Utilize the Solution
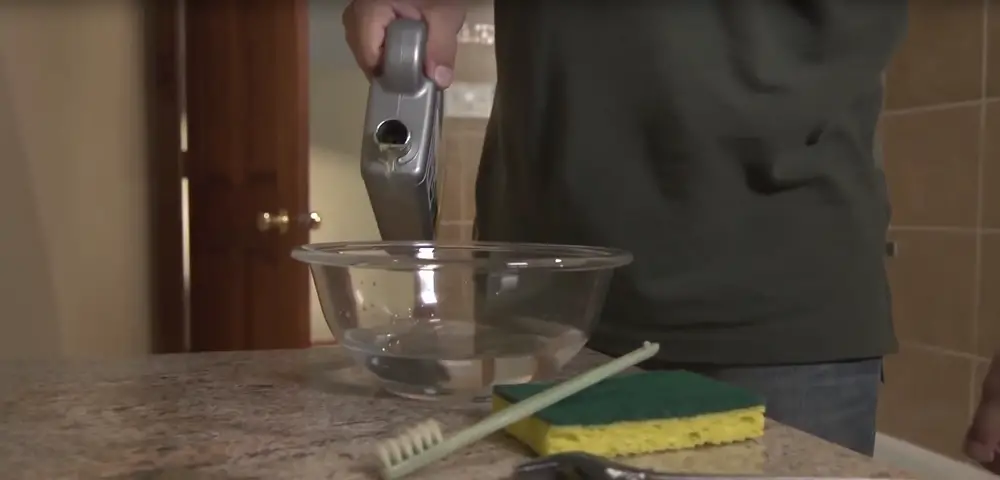
Fill the container with a mixture of half hot water and half CLR. Fully submerge the shower head in the solution and allow it to remain there for two minutes. If necessary, you can use the sponge or brush to help remove buildup as the device soaks.
Step 4: Rinse and Inspect
After soaking, thoroughly rinse the shower head and inspect it for any remaining buildup. If the first application did not return the device to the desired condition, repeat the soak with undiluted CLR. It is important to rinse the device after every soak to remove the CLR and any loosened grime.
Step 5: Reinstall and Enjoy
After cleaning and rinsing the shower head, it should be ready-to-use. Reinstall it in the shower, once again following the manufacturer’s directions. You can now enjoy a refreshing shower.
Serious about upgrading your shower? We created a special guide for you. We evaluated hundreds of shower heads and narrowed down our discovery to these 12 shower heads that we think are the best of the best. Whether you love intense high pressure, soothing rainfall, saving water, or rocking out to music in the shower – we’re confident you’ll find the perfect fixture for you.