Hey! This site is reader-supported and we earn commissions if you purchase products from retailers after clicking on a link from our site.
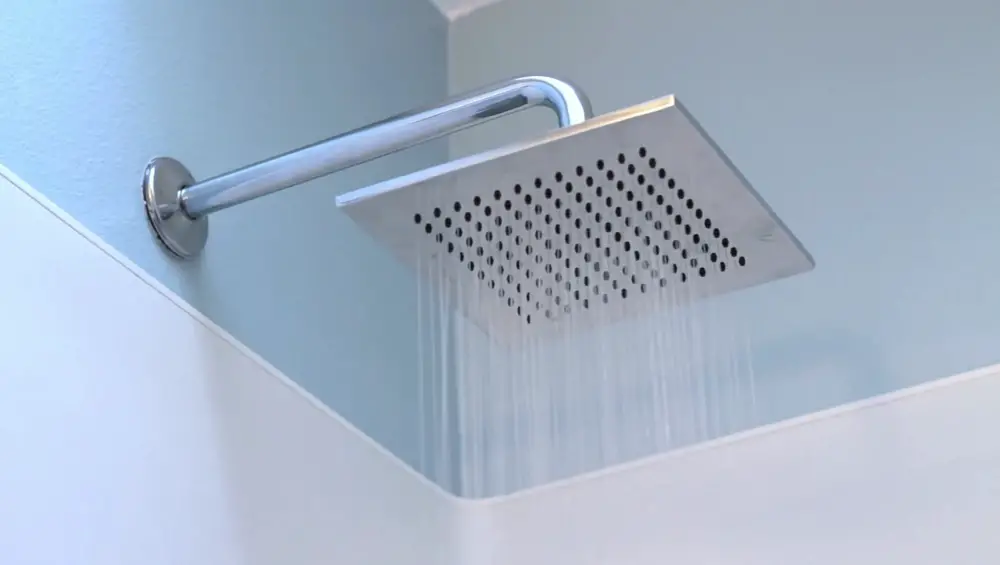
Replacing a shower head is one of the most common bathroom repairs homeowners will undertake in any given year. Over time, shower heads become corroded or clogged with sediment to the point where they don’t operate properly. In some cases, homeowners simply want to modify the aesthetics of their bathrooms through a fixture upgrade. If you’d like to change your shower head for any reason, this simple step-by-step guide will prove helpful.
Step 1: Carefully Select the New Hardware
You can buy a great new shower head at a variety of home improvement centers and local hardware stores. Read a few online reviews of different models and go with a quality fixture from a trusted brand that incorporates sturdy materials. Generally speaking, metal units require more cleaning and upkeep than those made from synthetic materials.
Step 2: Assemble the Necessary Hand Tools
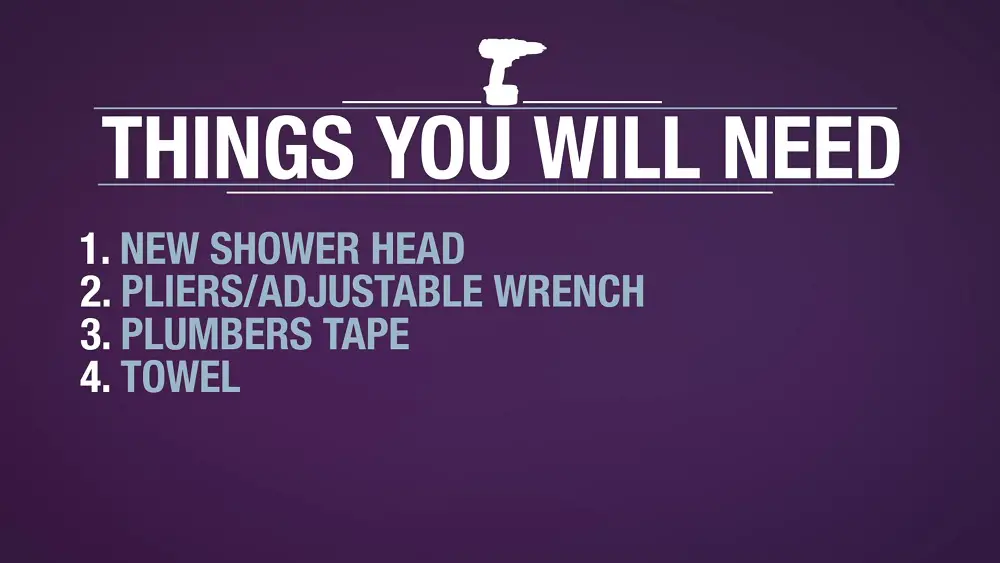
In order to change your shower head, you’ll need a few basic tools and materials that you probably have lying around the house anyway. These include two pairs of locking or adjustable pliers, some teflon tape and a few soft towels. You may also need some emery paper to clean up the shower arm.
Step 3: Remove the Existing Shower Head
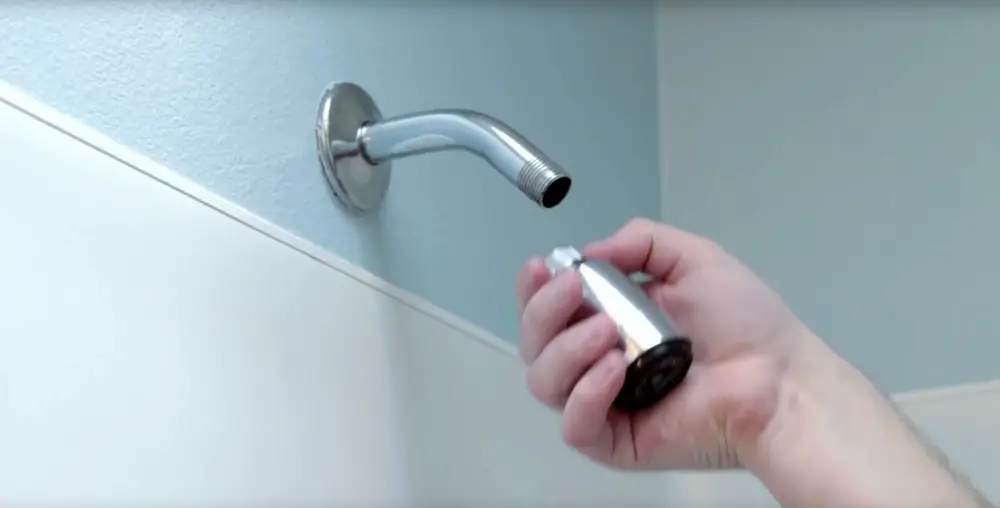
Start off by wrapping a towel around the shower arm coming out of the wall and holding it in place with a pair of pliers. Wrap another towel around the shower head itself and grab it gently but firmly with another pair of pliers. Turn the head counter-clockwise until it comes off of the arm.
Step 4: Prepare the Arm for Head Installation
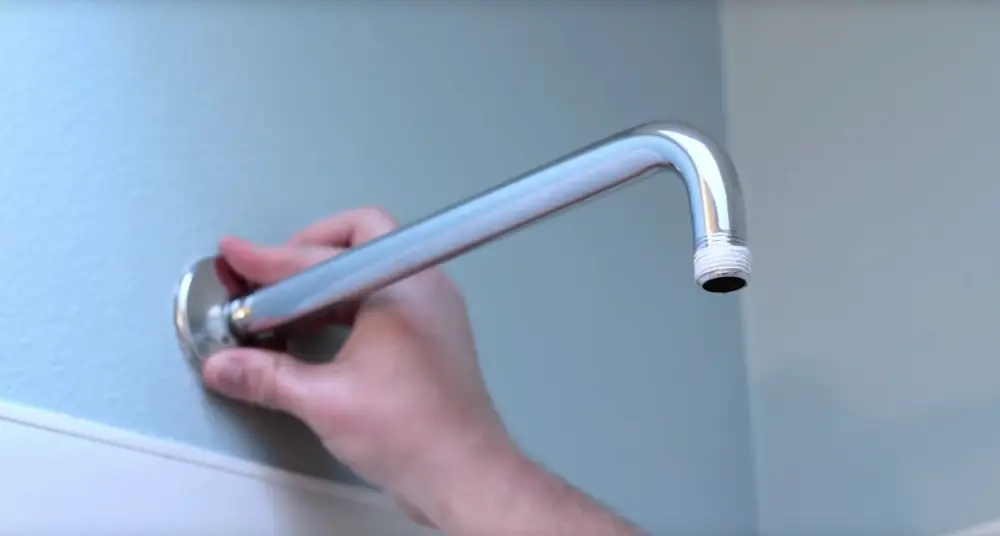
Once you’ve removed the shower head, take a look at the shower arm for signs of corrosion or physical damage. Use some emery paper or citric acid to remove rust from the threads. Dry the shower arm and wrap two or three layers of teflon tape around the threads in a clockwise fashion.
Step 5: Set the New Shower Head in Place
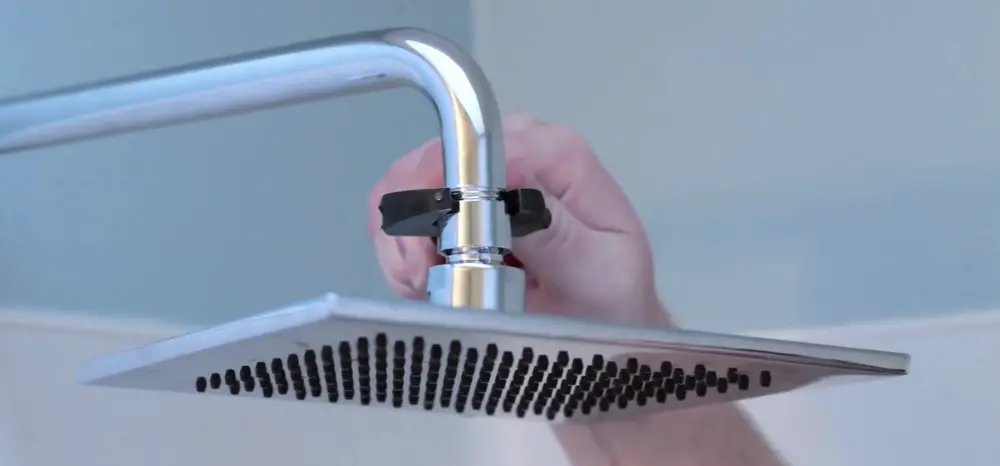
To install your new shower head, simply reverse the procedure that you performed when you took off the old one. Use a few soft towels or rags and two pairs of pliers to keep the shower arm stationary while you thread the new shower head on. Take care not to shred the teflon tape during the process.
Step 6: Test-Drive the Shower Head and Check for Leaks
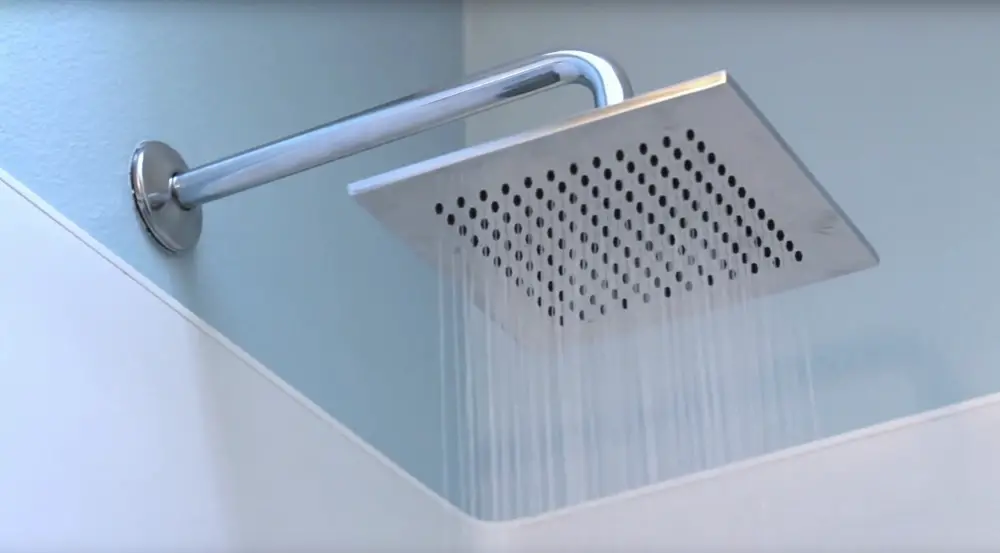
If you have an especially dated water heater, it might be a good idea to back-flush the pipes before trying out the new shower head. Turn on the water and check for leaks around the mating space between the arm and the head. Tighten up the head or apply more teflon tape to the arm if you see any leaks.
Getting the Most From Your Shower Head
Even the best shower heads need a little TLC to look their best and perform adequately. Wipe down the exterior finish once a month to prevent corrosion and soap scum buildup. An in-line water filter positioned before the shower head will prevent sediment accumulation over time. Ultimately, your shower head should last a decade or more if you perform a little preventative maintenance here and there.