Hey! This site is reader-supported and we earn commissions if you purchase products from retailers after clicking on a link from our site.
If you’re dipping your toe into the do-it-yourself world, then replacing your bathroom’s showerhead is a good place to start. Installing a new showerhead will not only give you the chance to select one that updates the look of your bathroom, but you can also decrease your energy costs by choosing a low-flow fixture. Here’s a step by step guide for changing your showerhead.
Step 1.
Be sure to collect the tools for the job. To install a new showerhead, you’ll need:
- The new fixture
- An adjustable wrench
- Teflon, or plumber’s, tape
- Slip-joint pliers
Step 2.
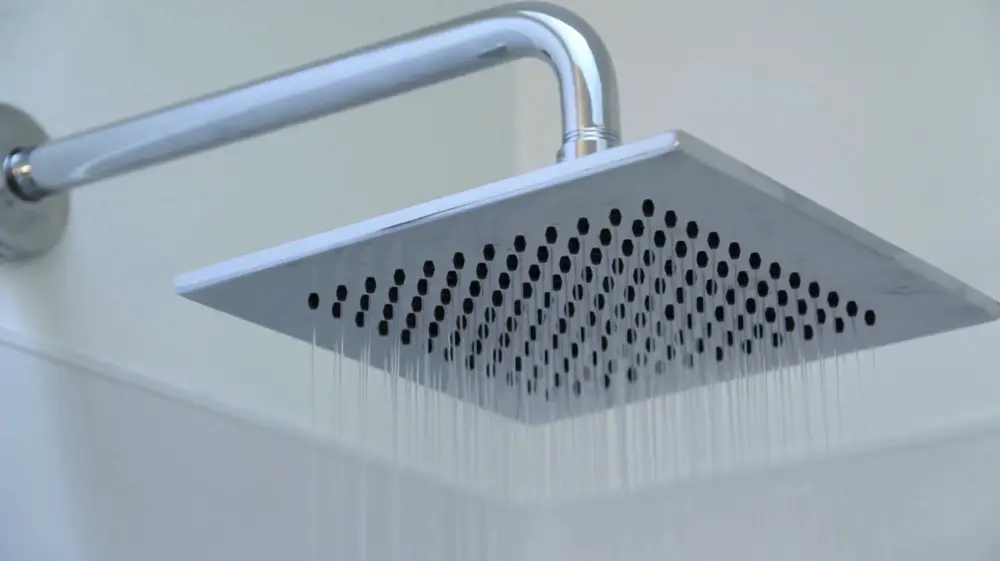
After collecting the proper tools, you’ll need to select a new showerhead. Today, along with producing fixtures that conserve water, showerhead manufacturers also make showerheads with filters that prevent your hair and skin from being exposed to chemicals. If you want a spa-like bathroom, then consider installing a rain showerhead. These models come with lights that change colors as well as different flow options.
Step 3.
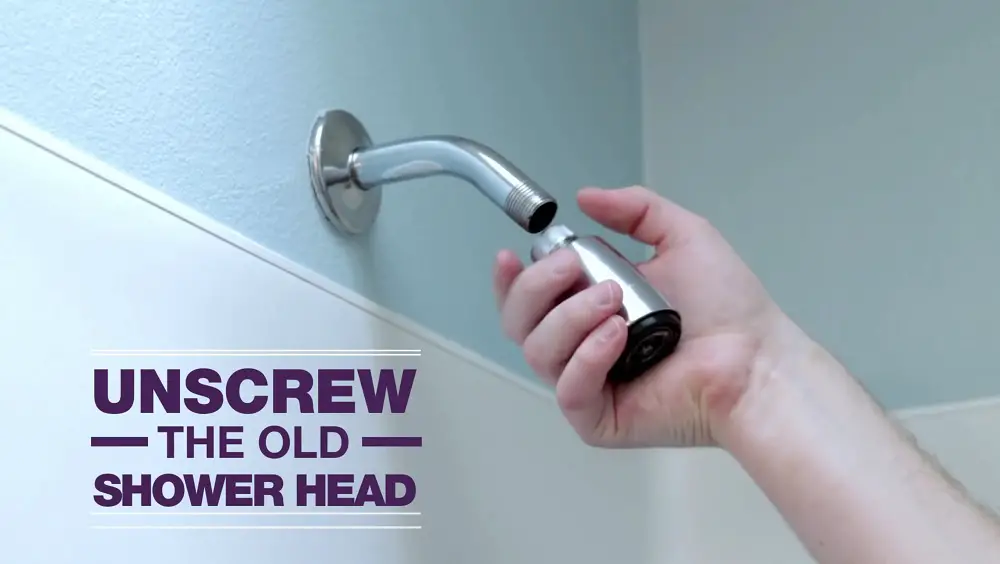
Once you’ve selected and purchased your new showerhead, you’ll be ready to remove the old one. Do this by turning it counterclockwise by hand. If you’re unable to twist it off, use the slip-joint pliers and the electrical tape to get a tight grip on the shower arm. Then, use the adjustable wrench to remove the old showerhead.
Before installing the new one, be sure to clean off any mineral deposits or rust that may have developed along the shower arm threads.
Step 4.

Take several strips of Teflon tape and wrap it around the shower arm threads two or three times. This kind of tape isn’t sticky like traditional tape, but it’s designed for plumbing tasks, so it will stick to the shower arm threads just fine. Be sure to press the tape down into the grooves of the threads to prevent water from leaking. The tape will also protect this part of the shower from developing mineral deposits and rust, making it easier for you to replace your showerhead next time.
Step 5.
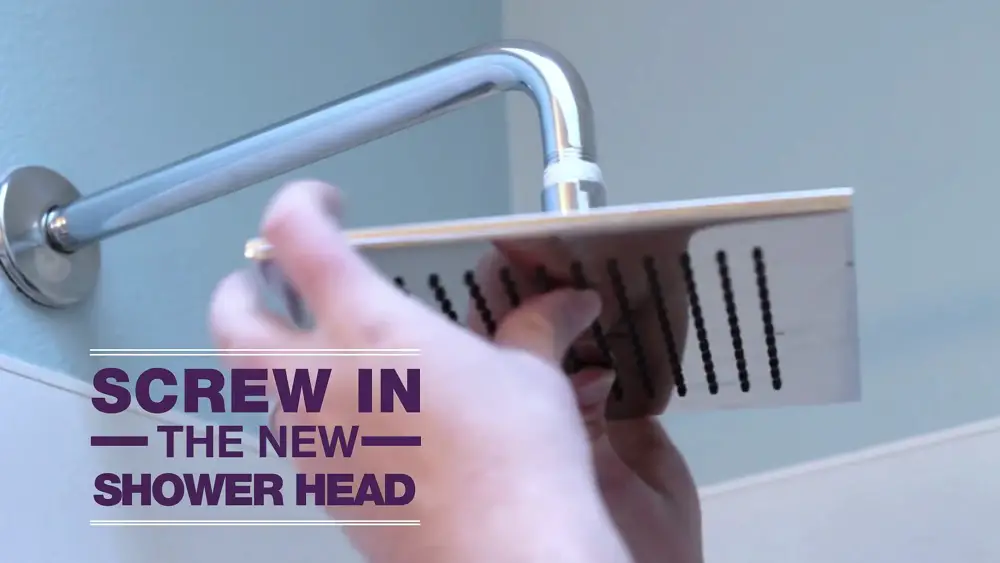
Install the new showerhead onto the arm of the shower by screwing the fixture in a clockwise direction with your hand. Tighten it to prevent water from leaking out of the plumbing section of the shower. Don’t use a wrench for this step unless the showerhead’s instructions say to do so or you’re unable to get it tight enough to prevent it from leaking.
If You’re Installing a Handheld Showerhead
If you want the convenience that a handheld showerhead provides, such as being able to clean the shower and your back more easily, then plan for a few extra installation steps.
Step 1.
After screwing the handheld shower mount onto the arm of the shower with your hand, you’ll need to connect the shower hose to the fixture’s mount as well as to the handheld shower.
Step 2.
Once everything is connected, set the handheld shower fixture into the mount. Then, like with a stationary showerhead, turn the water on to check for leaks. If water is leaking outside of the head, then wrap Teflon tape around the pipe and tighten the showerhead with your adjustable wrench to stop the leak.
If You Need to Install a Fixed-Mount for Your Showerhead
To install a fixed mount for a showerhead, you’ll need to connect a diverter. This part channels water from the shower pipe to the showerhead.
Step 1.
After removing your old showerhead, attach the diverter by hand-screwing it onto the shower pipe. Connect the fixed-mount to the diverter by tightening it clockwise.
Step 2.
The next step is to connect the handheld fixture mount to the shower. Attach the hose to the diverter, and then, connect the shower hose to the handheld shower fixture.
Tighten all of these connections by hand. Set the showerhead in the mount, and turn the water on to check for leaks. If there are leaks, use the same tightening techniques as you would if you were installing the other types of showerheads.
The Benefits of a New Showerhead
Over time, plumbing fixtures tend to become less efficient. By installing a new one, you’ll likely decrease your water bill while gaining the use of a showerhead that delivers more water pressure. Along with this, the home improvement industry is always coming up with newer and better showerheads. So, enjoy a fancy new fixture, one that will transform your bathroom into a spa.
Serious about upgrading your shower? We created a special guide for you. We evaluated hundreds of shower heads and narrowed down our discovery to these 12 shower heads that we think are the best of the best. Whether you love intense high pressure, soothing rainfall, saving water, or rocking out to music in the shower – we’re confident you’ll find the perfect fixture for you.