Hey! This site is reader-supported and we earn commissions if you purchase products from retailers after clicking on a link from our site.
Minerals from your water can build up on your shower head over time and prevent the water from flowing properly, reducing the quality of your shower. In addition to minerals, the moist environment creates the perfect opportunity for mildew to accumulate on your shower head, and you are likely wondering what you should do about the problem.
Although it might seem like a challenging job to do, you can clean your shower head without much trouble when you follow the right strategy, and a bottle of vinegar can help. You are about to uncover the steps you need to implement so that you can make your shower head work like new again, and you will be thrilled when you see the outcome.
Step One: Removing the Shower Head
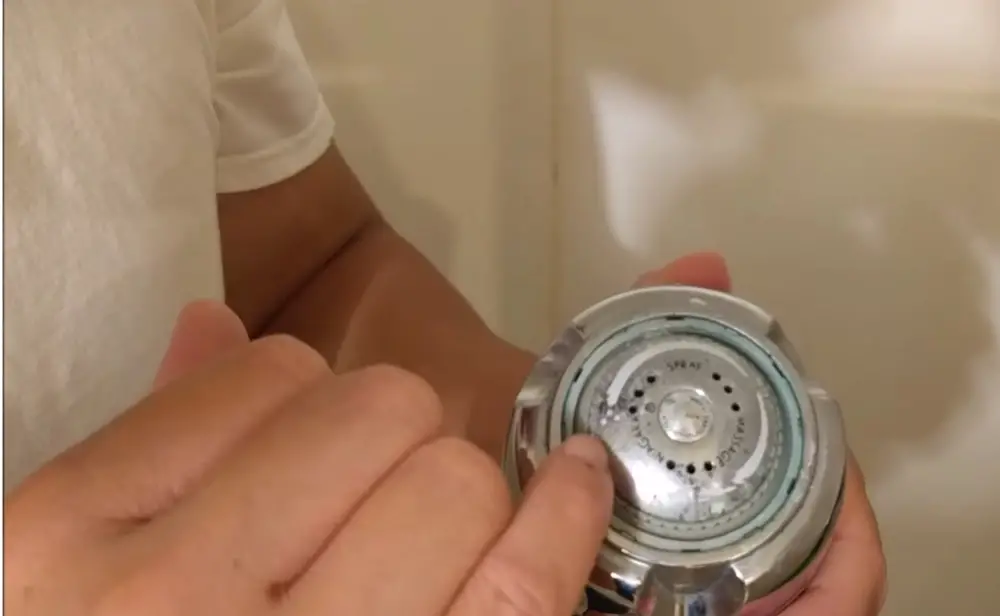
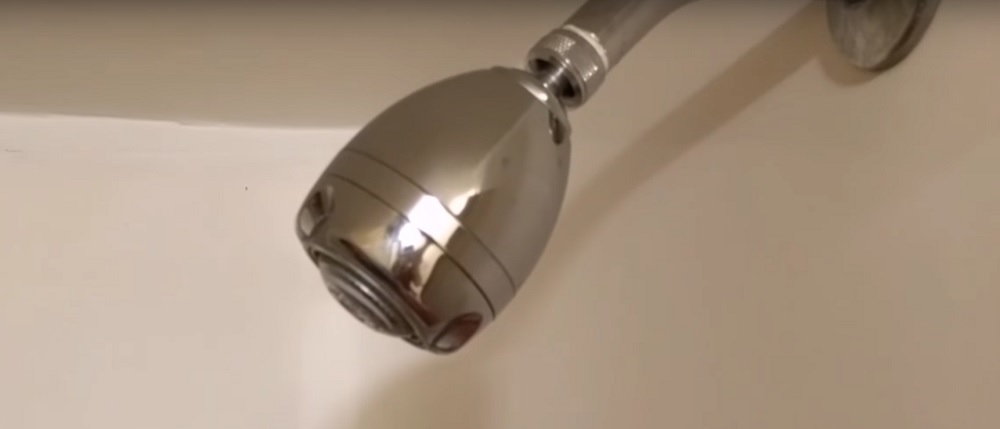
The first part of the process involves removing the shower head for easy access. When you are ready to begin, shut off the water to your home unless you want to face an unpleasant surprise. If you are unsure of where to look, your shut-off valve is probably located near your water meter.
Those who have private wells or pumps can find their shut-off valves in the basement of their homes, or they can check their home’s blueprint for more information. Once the water is disabled, turn the shower head counterclockwise to take it off, and you must put any removable parts in a safe location if you don’t want to lose them.
Read: Using CLR as a Shower Head Cleaning Alternative
Step Two: Soaking the Shower Head in Vinegar
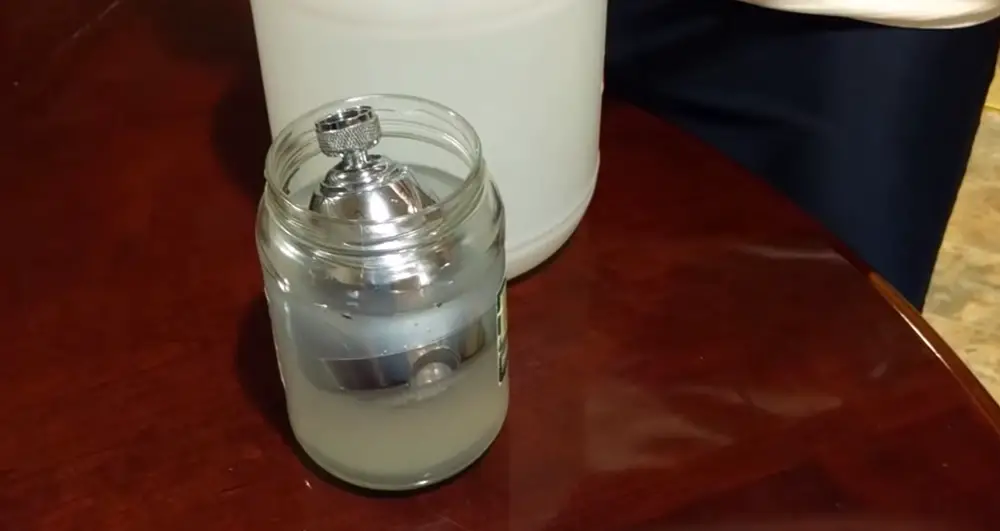
Place the shower head in an empty bowl and fill it with vinegar until it’s submerged. As you allow it to soak, the vinegar will break down the minerals and kill the mildew, restoring your shower head and removing the blockage. The length of time for which your shower head needs to soak depends on the amount of grime and mildew that have built up over the years. For a light cleaning, soak your shower head for 30 to 60 minutes, but you might need to soak it overnight if you have not cleaned it in several years.
Step Three: Washing and Scrubbing the Shower Head
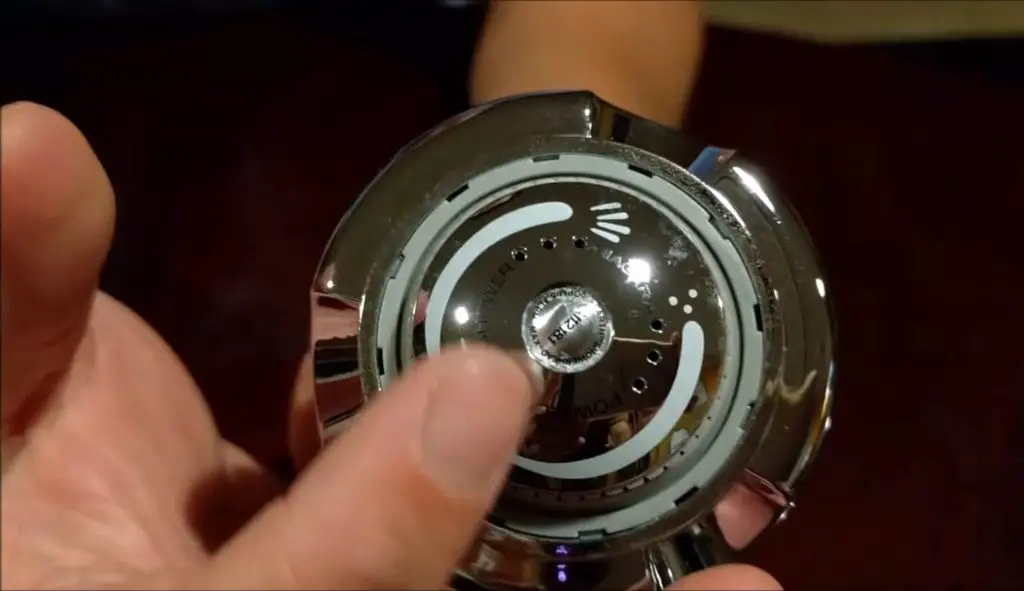
After you have soaked the shower head, remove it from the bowl and hold it under warm water. You will see the minerals breaking apart and falling into the sink right away. An old toothbrush will help if some of the minerals stay behind. Brush the shower head for several minutes or until it looks clean and vibrant, which should not take too long. If you are not happy with the results, dry the shower head and place it back into the bowl of vinegar.
Step Four: Reinstall the Shower Head
It’s now time to replace the shower head, but you can’t forget to gather the removable parts that you placed in a safe spot. Put the shower head in position and turn it clockwise until you can no longer do so, and adjusting it will keep the water flowing in the right direction. For the last step, you must return to your shut-off valve to turn on the water for your home.
See Also: Putting a Stop to Your Leaky Shower Head
Final Thoughts
Even though a dirty shower head can prevent your water from flowing as it should, using a proven plan will let you defeat that problem in no time. Vinegar is a useful tool that will work wonders for your shower if you would like to remove minerals, dirt and grime. You will get the job done and turn on your shower to see it working like it did when it was new, which will put a smile on your face.
Serious about upgrading your shower? We created a special guide for you. We evaluated hundreds of shower heads and narrowed down our discovery to these 12 shower heads that we think are the best of the best. Whether you love intense high pressure, soothing rainfall, saving water, or rocking out to music in the shower – we’re confident you’ll find the perfect fixture for you.