Hey! This site is reader-supported and we earn commissions if you purchase products from retailers after clicking on a link from our site.
Even though they might not have visible soap scum or grunge on them, shower heads need to be cleaned periodically just like the rest of your shower does. Over time, the jets that spray water can become clogged with mineral deposits, leaving the shower head looking dingy and dirty. Even worse, it won’t spray properly with the jets spraying irregularly or weakly.
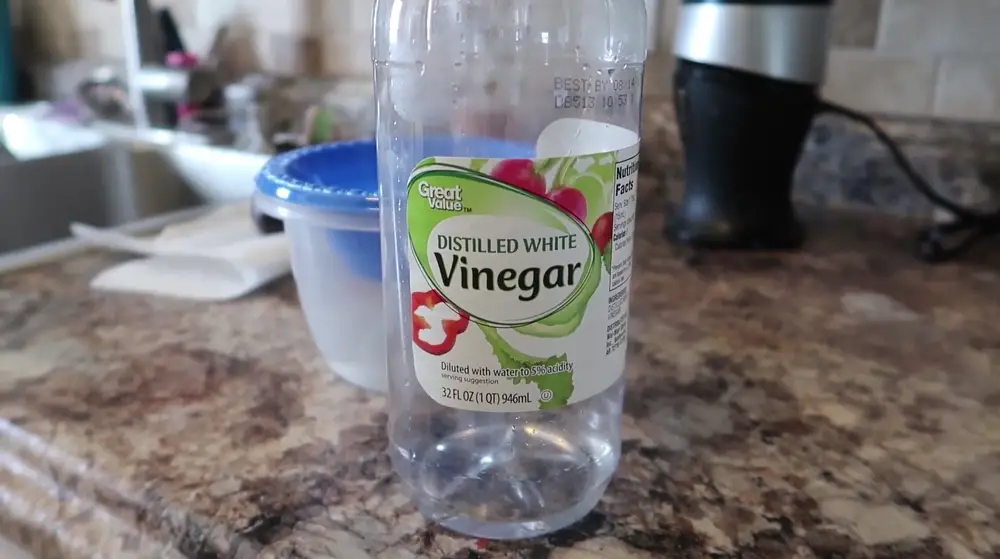
You don’t need fancy supplies or complicated cleaning regimens to get your shower head clean. You just need a few items that you probably already have around the house and a little bit of time and elbow grease. In fact, harsh cleaners can damage the parts inside shower heads and are not necessarily as effective as white vinegar, which is affordable and safe for most shower heads.
Basic Cleaning Supplies
- Bucket and cleaning cloths
- Soft toothbrush
- Pliers or wrench
- Distilled vinegar
Test the vinegar using a cotton swab in a small, inconspicuous area if your fixtures are anything other than chrome to ensure the finish won’t be damaged.
Cleaning Method #1
This is the recommended cleaning method because it allows you to really get into all the nooks and crannies of the shower head.
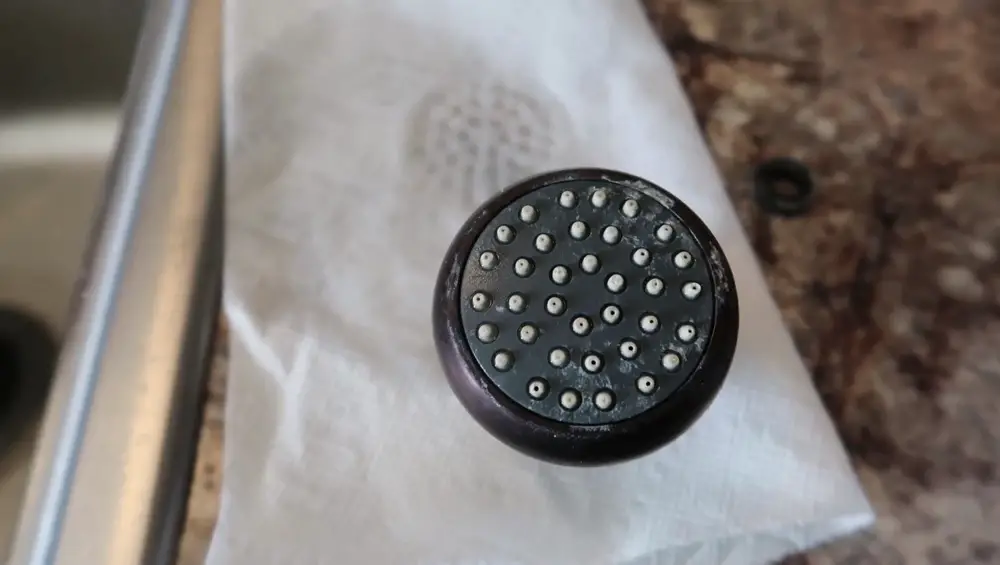
1. Remove the shower head and place it in a bucket or another container that is deep enough to allow for immersion. If you’re uncomfortable with this process, take reference photos so that you can easily replace each part when you put the head back together.
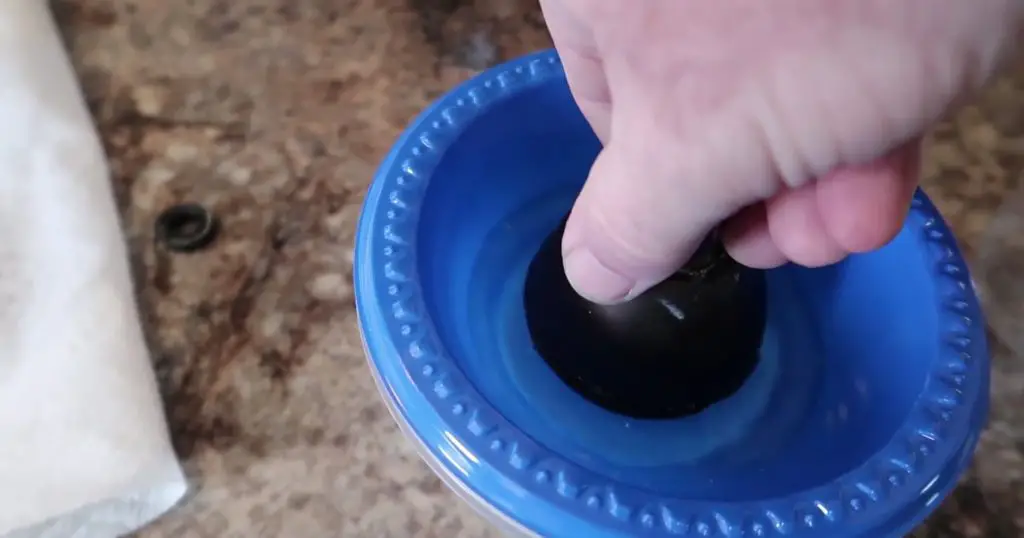
2. Use your microwave to warm the vinegar just a bit. Pour the warmed vinegar over the shower head to cover it, and let it soak for about 30 minutes.
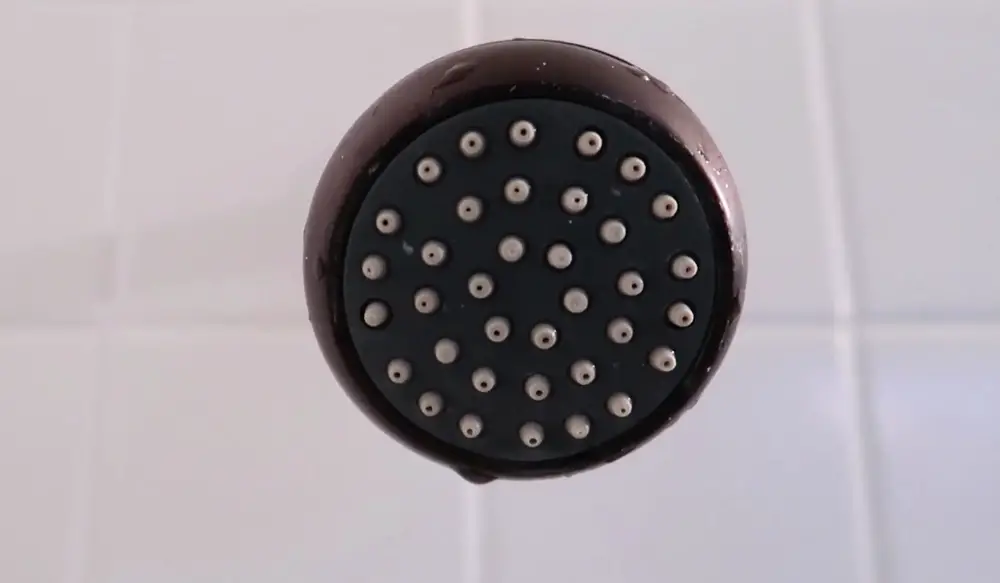
3. After soaking, use a rag to wipe off the loose deposits. Use the toothbrush to scrub away any remaining hardened deposits from the jets.
4. Use the toothbrush to clean the filter screen. Gently remove any mineralized deposits before rinsing it under running water.
5. Reassemble the shower head. You will need to reapply the thread seal, or PTFE tape, to prevent leaks. Use your reference photos if necessary.
Cleaning Method #2
If you’re not comfortable removing your shower head, that’s okay. You can still clean it, but the process will take a bit longer. You’ll use the same supplies that you did with the first cleaning method, but you’ll also need to add a gallon-sized plastic bag or two along with a few rubber bands or strong tape.
1. Pour the vinegar into your plastic bag, and carefully wrap the plastic bag around the shower head. Make sure the entire shower head is fully immersed in the vinegar.
2. Secure the plastic bag around the shower head using rubber bands. If you use tape, be careful not to let the tape touch the metal parts of your shower. The adhesive can leave a sticky residue or damage the metal finish.
3. Because you’ll be using cold vinegar, the shower head will need to soak longer. Let it soak a few hours or overnight for the best results.
4. After the soak, carefully remove the bag, and scrub any hardened deposits using the soft toothbrush. Wipe the showerhead using your cleaning cloth.
5. Flush the shower head with water until the jets are clear.
This process may need to be repeated once to fully eliminate hard water deposits in some showers.
Serious about upgrading your shower? We created a special guide for you. We evaluated hundreds of shower heads and narrowed down our discovery to these 12 shower heads that we think are the best of the best. Whether you love intense high pressure, soothing rainfall, saving water, or rocking out to music in the shower – we’re confident you’ll find the perfect fixture for you.
