Hey! This site is reader-supported and we earn commissions if you purchase products from retailers after clicking on a link from our site.
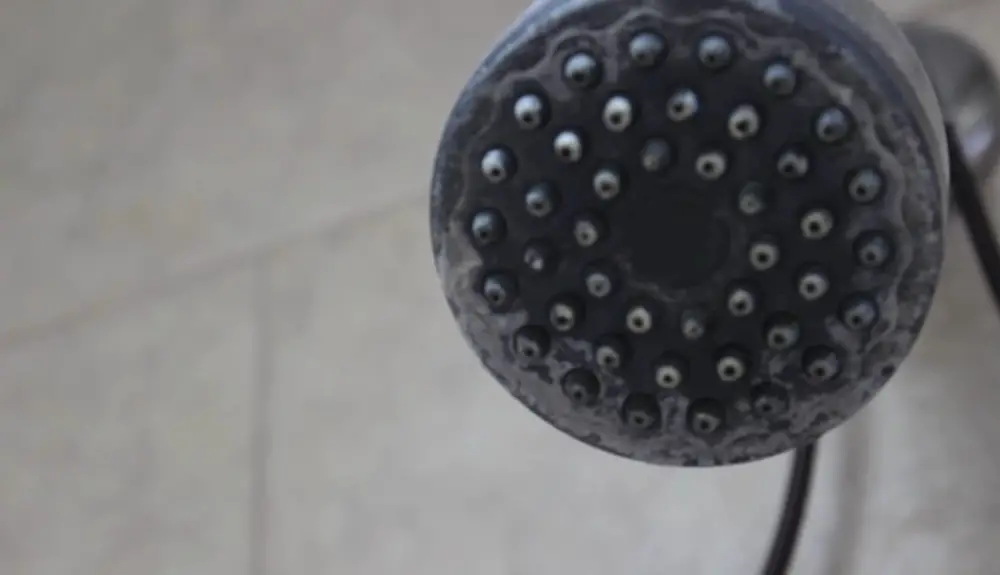
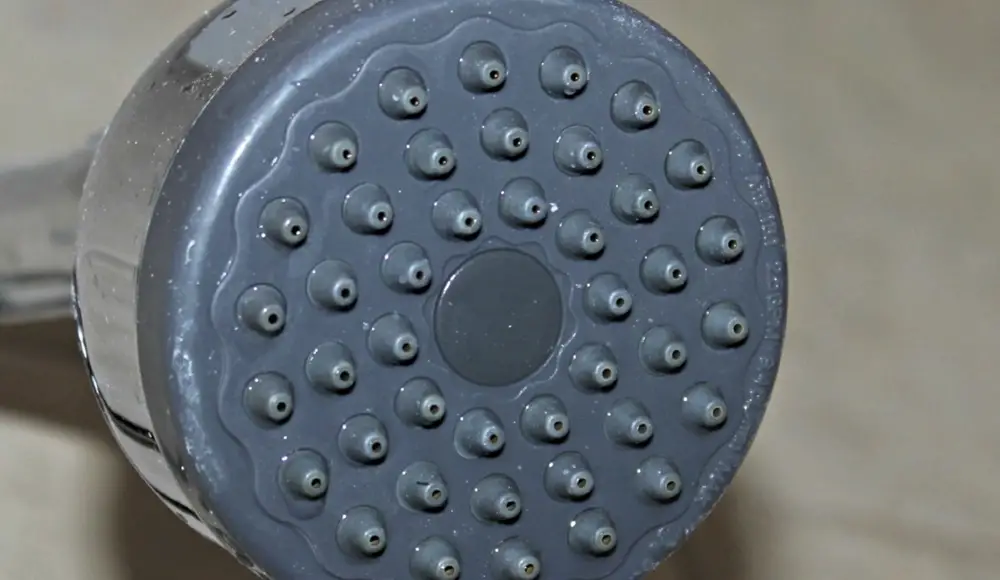
Over time, your showerhead can become blocked by mineral deposits such as magnesium and calcium. These deposits are both unsightly and can clog some of the openings for the water, making your showerhead function improperly. You might have attempted to remove the calcium deposits from your showerhead by scrubbing to no avail. However, there is a simple method that you can use to remove these deposits so that you can restore the beauty and functionality of your showerhead.
Step one: Gather your supplies
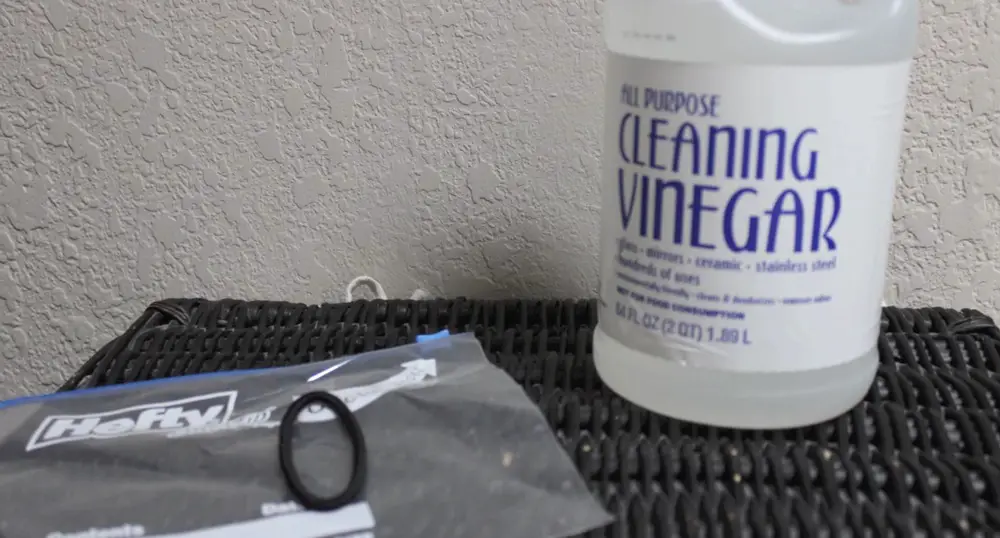
You will need very few supplies to remove calcium deposits from your showerhead, and you likely have everything that you need in your home. Here are the supplies that you should gather:
- Distilled vinegar
- Ziploc bag
- Rubber band or hair band
- Old toothbrush
- Toothpicks
Once you have gathered these together, you can move on to the next step.
Step two: Remove your showerhead
If you are able to do so, remove your showerhead. If you are able to remove your showerhead, soak it in vinegar for several hours. If you are not, here is what you should do instead.
Step three: If you cannot remove your showerhead
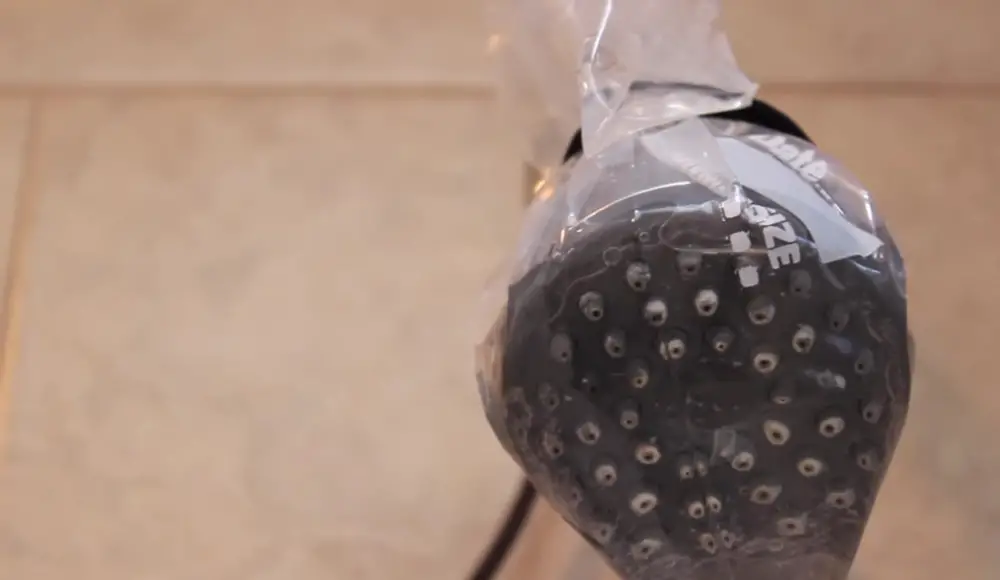
If you are not able to remove your showerhead, fill your Ziploc or hefty zip bag with vinegar. Secure the vinegar-filled bag around your showerhead with it submerged in the vinegar. Take your rubber bands and secure the bag to the arm of your showerhead. Allow it to soak overnight if possible. You will need to let it soak for at least one to two hours at a minimum.
Step four: Remove the bag
After soaking your showerhead for several hours or overnight, remove it from your vinegar bag. Your showerhead should already look much better. At this point, the calcium deposits will have softened in the vinegar. Using the old toothbrush, scrub the remaining deposits that are left behind on your showerhead. With the toothpicks, poke into the showerhead holes and clean out any deposits that remain in them.
See Also: Cleaning Your Shower Head with CLR
Step five: Clean your showerhead
Finally, rinse off your showerhead and dry it off with a soft towel. Your showerhead should now look like it did when it was new, and it should also work correctly so that you can enjoy better showers.
Step six: Reattach your showerhead
If you removed your showerhead in step two, reattach it when you have finished cleaning it. After you have done so, turn your shower on so that the water can force out any loose calcium deposits that might still be left behind inside of the holes.
Calcium deposits in your shower and on your showerhead are ugly, but they are easy to remove. Instead of spending hours scrubbing away with harsh chemicals, simply use vinegar to soften and remove calcium and other mineral deposits. When you use this method, you can soon enjoy a spotless showerhead that shines and works just like it did the day you purchased it.
Serious about upgrading your shower? We created a special guide for you. We evaluated hundreds of shower heads and narrowed down our discovery to these 12 shower heads that we think are the best of the best. Whether you love intense high pressure, soothing rainfall, saving water, or rocking out to music in the shower – we’re confident you’ll find the perfect fixture for you.