We all know that having a shower can be a godsend during the early hours of the morning, especially when you are feeling tired and need something to perk you up.
In fact, the only thing that can make a shower better is a nice showerhead, a soft sponge and a collection of bubbly soaps and shampoos. However, this does not mean that showers do not come with their flaws, as even showers are prone to overuse and age.
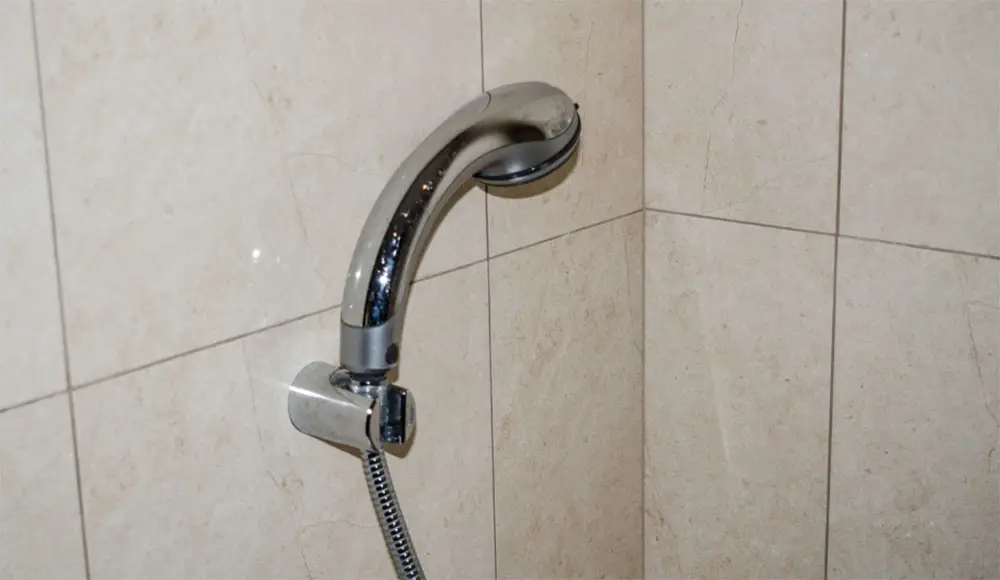
Of course, one of the most important features of any shower is the handle, as this is the device that makes the flow of water possible. So it can be difficult when your shower handle begins to leak every time you use it.
Not only can this affect your morning shower, but it could mean that you need to replace your shower handle with a newer model, something that is easier said than done.
In most cases, shower handles may look almost impossible to remove, which is why you need to know what you are doing before tackling the task head-on. So if you want to know how you can remove your shower handle without any issues, then you have come to the right place.
In the following article, we are going to teach you how to remove a shower handle, while also explaining the various obstacles you may encounter.
So if you think it’s time to replace your shower handle, here’s everything you need to remove your current model…
Overview
If you are in a rush and don’t have the time to read the whole article, then here is a general explanation of how you can remove your shower handle:
- Turn off your water supply
- Unscrew the set screw
- Remove the handle from the valve
- Remove the trim plate
- Secure faucet with industrial tape
- Screw new handle in place
- Put back the trim plate
If you want to know more about the removal process, then we have provided more detailed instructions in the sections below. You will also find some important information concerning shower handles and their removal.
Can You Remove A Shower Handle?
The short and simple answer to this question is yes, you can remove a shower handle without any issue.
In fact, removing the shower handle is often considered the best option should it need replacing, otherwise, you could find yourself having to remove the valves, which is a much more complicated process.
Of course, there are countless reasons why you may want to remove your shower handle, whether that be a leaky faucet or an unattractive design.
Because shower handles are constantly being used throughout the day, this means that they are prone to age and wear and may need to be replaced to maintain your morning routine.
However, this does not mean that you have to seek the help of a professional plumber, as removing a shower handle can be a straightforward task depending on the model that you have.
So if you want to know more about how you can approach the removal process, you can find more information in the following guide.
Can You Remove A Single-Handle Shower Faucet?
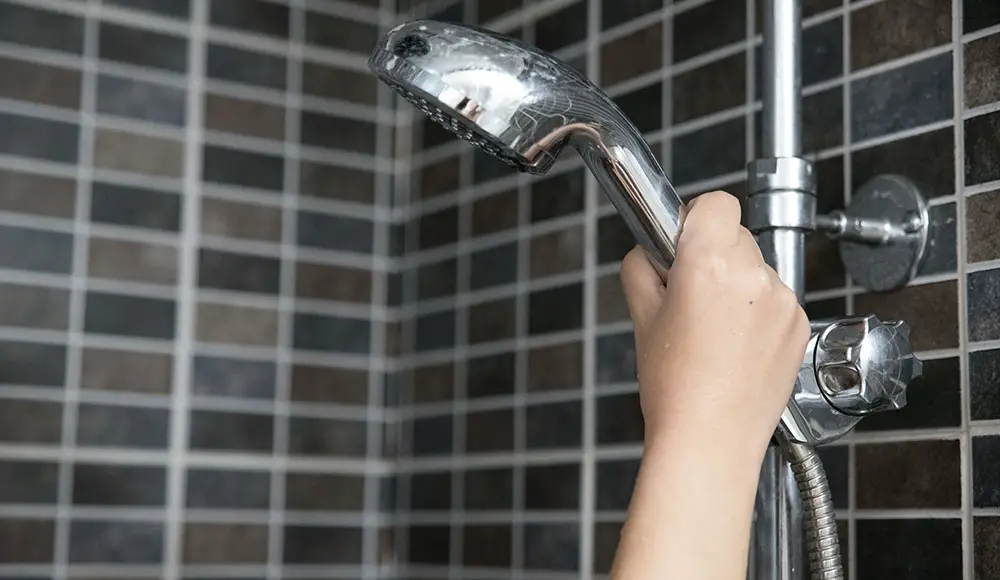
Shower handles can be purchased in a variety of different designs, with the most common options including single, double and even triple-handle styles.
For example, if your shower is located above the bathtub, then you could be working with one of these setups. While stand-alone showers are more likely to feature a single-handle faucet, although it is not uncommon for double-handles to also be used.
Regardless of what kind of handle you have, the removal process is essentially the same and does not require any professional equipment.
However, if you do not want to remove the shower valve, then it is advisable to replace your current shower handle with one of the same design.
It is also important to make sure that your shower handle matches the style and hue of the previous fixture so that it can match the rest of your bathroom decor.
If you wish to purchase a new shower handle from the same manufacturer as your current model, then you can do this by looking behind the trim plate to find the company’s name.
We also recommend taking a note of the model number while you are there, as this may help you find the same fixture should you not want to change the design.
Before you can begin the removal process, you will need to block the drain by using a stopper or cloth, as this will reduce the risk of screws falling down the drain.
This happens a lot more than you may imagine, so always make sure that you have some kind of protection to make the removal process much faster and efficient.
How To Remove A Shower Handle
Now that you better understand the ins and outs of the removal process, let’s take a look at how you can remove a shower handle all by yourself:
Step One: Turn Off The Water
Before you can begin removing your shower handle, you will need to turn off the water supply.
Fortunately, most showers are built with shut-off valves, which tend to be located on the back or sides of the shower. However, in most cases, these valves will be hidden behind the wall, which means they can be difficult to access if you are not completely overhauling your bathroom.
So if you are unable to locate your shut-off valve, you will need to turn off the water in the entire house until you have finished the job. Once you have turned the water off, we recommend placing the valve in the on position, as this will remove any excess pressure that might still be in the pipes.
Step Two: Remove The Handle
To remove the shower handle, you will first need to locate the handle screw, which can vary in location depending on the model that you own. In some cases, the screw can be found under a decorative tap or underneath the shower handle itself.
Once you have located the screw, unscrew it using a hex-head wrench or small Phillips screwdriver. After you have completed this step, remove the shower handle from the valve and remove the trim plate from the wall.
During this process, it’s important to remember that older shower handles may be more difficult to remove, especially if they have rusted. So if you find yourself unable to remove your handle, you can apply some lubricant or use a tool called a handle puller.
Step Three: Replace The Handle
Once the trim plate has been removed, you can begin installing the new shower handle.
To complete this step, you will need to secure the bottom of your faucet using industrial tape, before sliding the new shower handle onto the stem. When the new handle has been attached, screw it in place using the supplied screws.
If you are working with double or triple handles, then the removal process is exactly the same. However, you will need to apply tape to each stem before attaching the new shower handles.
When the handles have been secured, replace your trim plate over the new handles and screw it into place. Once this process has been completed, you can turn the water supply back on and enjoy your new shower handles.