One of the most important parts of your shower will always be the drain. Without the drain, the water that comes out of your shower would have nowhere to go, and your bathroom would quickly become flooded.
But, because the shower drain completes one of the most important jobs in your shower, it is one of the components that experiences the most problems. This is why you might find yourself having to remove and replace your shower drain.
This isn’t a job that requires a plumber, but unless you are a plumber, you might not know where to begin. Removing a shower drain isn’t as difficult as you might first expect it to be.
In this guide, we’ll be telling you exactly what a shower drain is, and how to remove it. So to find out how to do this, keep on reading.
What Does A Shower Drain do?
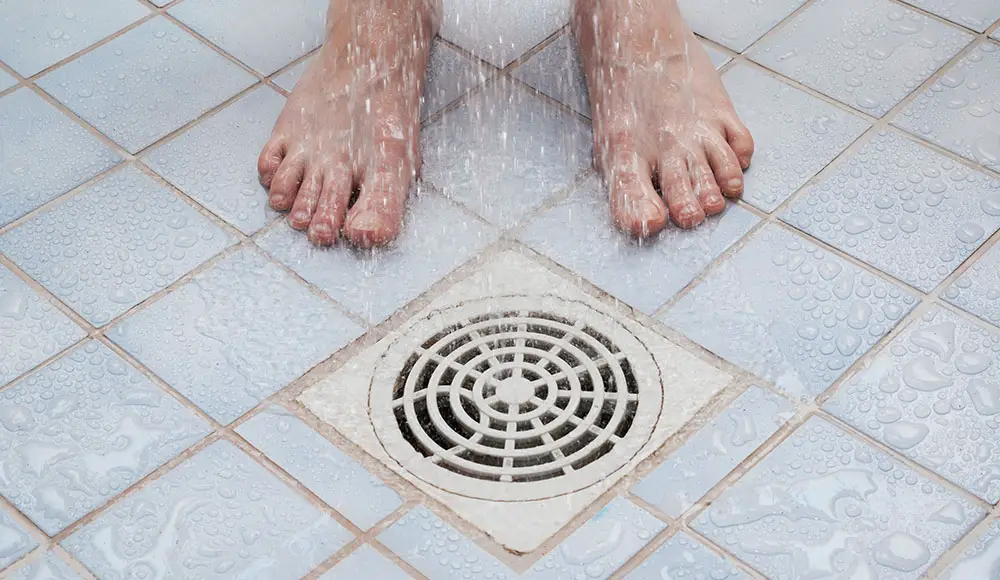
First, let’s take a look at what a shower drain is, and what it does. As you probably already know, a shower drain is the hole located at the bottom of your shower tray through which water that comes out of your shower runs out.
The drain ensures that the water in the shower tray does not overflow, and prevents flooding in your bathroom. While the drain that you see in your shower tray might seem extremely simple, this isn’t actually the case.
The drain isn’t just a hole in the bottom of your shower. If this was the case, then the water would just pool in the floor beneath your shower. To avoid this, a shower’s drain is connected to plumbing.
The plumbing runs beneath the shower tray and into your home’s central plumbing system. From there, the water out of your shower’s drain will run out to the sewers outside your home as part of your home’s waste.
Pipes run both ways, and so you might be wondering why your shower’s drain does not produce sewer gases. This is because a shower drain is designed in a specific way to prevent this. So now that we know what a shower drain is, let’s take a look at how to remove it.
Why Would You Remove Your Shower Drain?
Now, you might be wondering why you would remove your shower drain. There is no straight answer for this, but most people end up removing and replacing their shower drain for one of two reasons:
- It is broken and needs to be replaced.
- You are installing a new shower or remodeling your bathroom.
Of course, everybody’s reason for removing their shower drain differs. But, ultimately, it is something that most people will do at some point. You might employ a plumber to do the job, especially if you are nervous around DIY tasks, or you might choose to take on the job yourself.
If you decide to change your shower drain yourself, then this can be a very intimidating task, at first. But, once you get started, you will realize that it isn’t actually that hard. To help you out, we’ve put together this guide. So to find out how to remove your shower drain yourself, keep on reading.
How To Remove A Shower Drain
So, how do you remove your shower drain? If you want to find out how to do this, follow this step-by-step guide:
Unclog Your Drain
The first thing you need to do is check if your shower’s drain is clogged. If your drain is slightly clogged, then it might be a good idea to unclog your drain before you move it. If the clogging is bad, then this will make removing your drain a lot more difficult.
So you should consider using a drain snake, or a mixture of hot water and vinegar, to unclog the drain before going any further.
Dry Your Drain
Once your drain has been unclogged, you will then need to dry it. Simply take a towel and wipe the drain so that it is dry. Once it is, you are ready to move onto the next step.
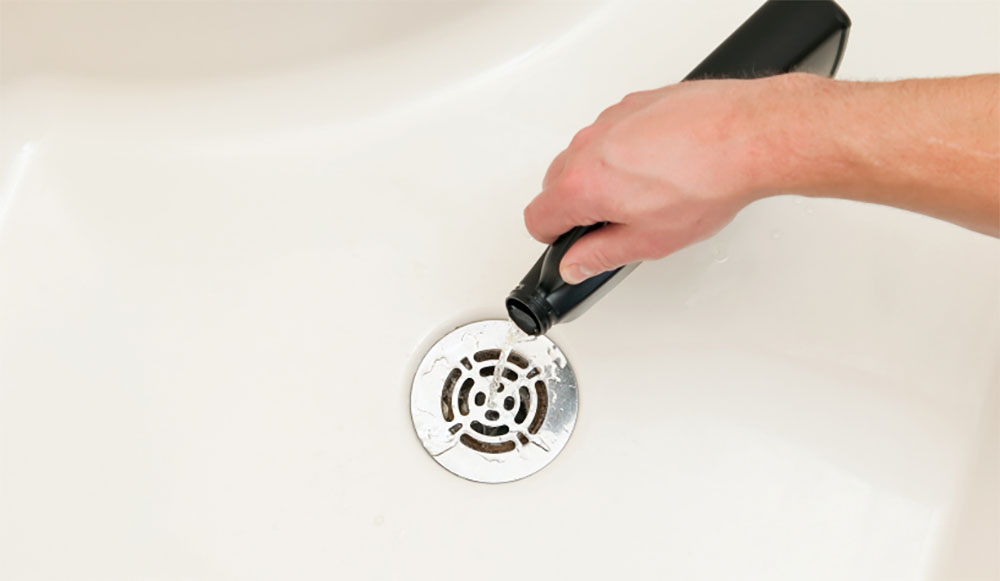
Lubrication
The next thing you need to do is lubricate your shower’s drain. You should use WD-40 or a silicon-based lubricant for this job. This is incredibly important if your shower drain is older, as it is likely tightly secured in place.
Check For Screws
Once you have lubricated the drain, you should then check for any screws within the drain. If there are any, then you should then undo the screws. With these undone, and the drain lubricated, your drain should be significantly looser.
Use Pliers
Next, you need to take your 2-nosed pliers, and find the 2 drain openings that are located on either side of your drain. Once you find these openings, carefully insert your pliers into them, ensuring that you do not dent your shower drain in the process.
With your pliers in place, clamp onto the holes and twist clockwise while simultaneously pulling. This should dislodge your shower drain.
Use More Force
If this doesn’t work, then you should use more force when pulling, and continue to twist at the same time.
It is important to start off gently because you do not want to damage the drain. But, if it doesn’t dislodge with gentle force, you should use a bit more strength when pulling on the drain. If this fails, add a little more lubricant to the drain.
Lift The Drain Out
Once you can feel that the drain is completely loose, you should take another set of 2-nosed pliers and insert them onto the opposite openings to the ones you are currently connected to.
Holding both sets of pliers in your hand, gently pull them to dislodge the shower drain. Your drain will then be removed ready to be repaired or replaced depending on your preference.
Properly Removing Your Shower Drain
In short, removing your shower drain might seem like a difficult task, but in reality it isn’t actually that hard. In this guide, we’ve given you a step-by-step guide to show you how to remove your shower drain. So to find out how to do this, check out the guide above.