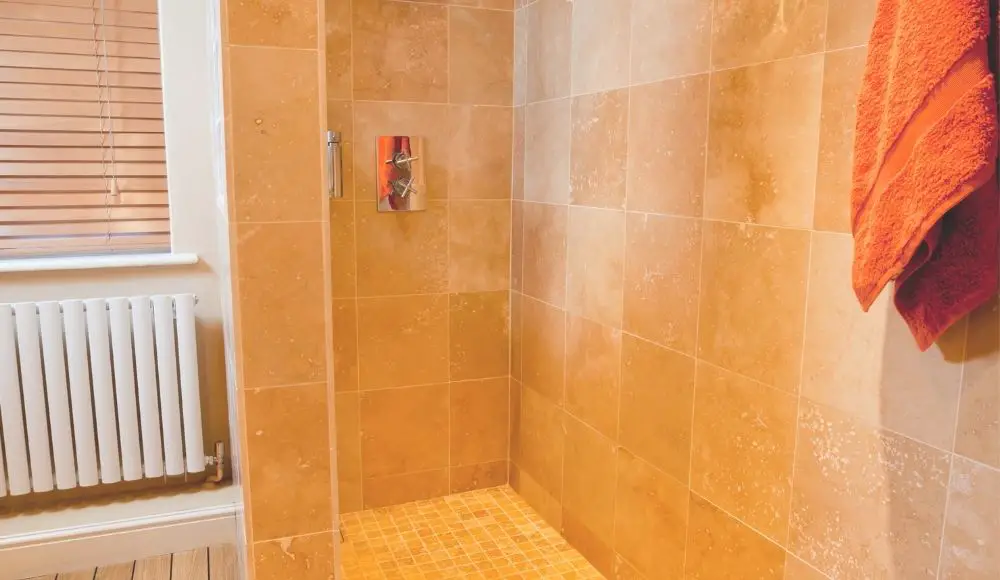
There are many homes that struggle with mold and mildew growth in the bathroom, which opens up opportunities for health issues. One of the culprits is excess moisture. Even with proper ventilation, the moist environment of the shower can cause mold spores to propagate and grow. That means that one of the best ways to cut down on mold and mildew and make your bathroom cleaner is to waterproof the shower.
Since waterproofing can be a bit confusing—especially with all the options—we’ve put together a guide to waterproofing showers that simplifies every step.
What Shower Waterproofing is Needed?
So let’s start with why you need waterproofing. There are many misconceptions about showers being waterproofed upon installation, but 100 percent waterproofing is nearly impossible with some materials. Take tile, for example. Although porcelain and glass tiles are waterproof, the grout between each tile is not. Grout is meant to hold those tiles in place, but the materials that it is made out of—sand and Portland cement—means that it will absorb water over time.
This is why you need to waterproof your shower. Because grout is directly above the plywood, insulation, drywall, or even the foundation of your home, any amount of water that seeps through could be damaging your home!
What is the Best Waterproofing for Shower Flooring?
The walls get all the attention. Meanwhile, the tile on your floor is secretly nefarious and routing your waterproofing attempts. You have to waterproof the shower floor just as you would the walls.
Most of the time, the tiles are already waterproofed during installation. In the past, copper or rubber shower pans were used to catch any excess moisture that dripped through the mortar base. However, those pans could gradually shift, leading to pooling problems and mold growth. Thankfully, those pans have been replaced with something far more suitable: waterproof membranes.
Liquid Membranes
A liquid waterproof membrane is painted onto the floor or walls of your shower. You need to wait for them to dry before becoming waterproof, but once the liquid membrane is set, it remains a flexible elastomeric layer beneath the flooring or tiles.
Common liquid membrane products include:
- USG Durock Brand Liquid Waterproofing Membrane
- Mapei Mapelastic AquaDefense
- Redgard
- Crommelin Shower Waterproofing Membrane
- UGL DRYLOK
- ShowerSeal Seamless Liner
Sheet Membranes
These sheets are made with a blend of plastics and utilizes a peel and stick application that makes installation easier than ever. The sheet membrane is attached to the backer board.
Some of the best sheets and fabrics include:
- Schluter Kerdi Waterproofing Membrane
- Laticrete Fabric
- Xfasten Fiberglass Membrane Fabric
- RIW Tilesafe
Foam Shower Bases
In some places, you will find shower bases made of foam in kits. There are also foam wallboards that can be paired with these shower bases. Most are made from extruded polystyrene foam and pair with seam tape and other accessories.
The Best Waterproofing for Shower Walls
Seeing how the shower walls can be misted and collect condensation from a steamy shower, waterproofing is essential. One of the most common backers of bathtubs and showers is cement board, and it is a decent material. Unfortunately, cement board is like grout—not waterproof, only water-resistant. Even Durock Cement Board, which is made specifically for wet environments, is not 100 percent waterproof.
That is why cement board is often partnered with Redgard, a type of liquid membrane that can be painted on.
Obviously, the best waterproofing for a shower depends on the kind of shower you have, where it is located, and how much ventilation you have available. Liquid membranes are most often selected for do-it-yourself (DIY) projects, so that might be a good idea for both new and experienced DIYers.
If your shower is not tiled, you might not have to worry about waterproofing as much, because the shower won’t have as many seams. The same happens when you have a plastic insert that is all one piece. You will still need to waterproof the top edge of the shower insert to stop water from accumulating on the edge and forming unseen mold.
Do I Need to Waterproof Shower Walls Before Tiling?
Since the grout and adhesives between tiles are only water-resistant, you will need to waterproof the background before you even start tiling the walls. This ensures that the moisture will not penetrate the deeper layers of the wall.
The only time you do not need to pre-treat your walls before tiling is when you are using gyproc moisture-resistant plasterboard.
How Do I Waterproof Shower Walls Before Tiling?
Before you even begin, it is a good practice to wear protective equipment, such as goggles and gloves, since some of the materials can irritate the skin and eyes. Next, you should aim to protect any surfaces. Wipe the walls down to remove any dust or dirt that would contaminate the materials.
Afterwards, follow these steps:
1. Apply Primer
Pour a bit of undiluted primer into a clean paint tray. Using a brush or roller, apply the primer. This is also meant to protect the walls from dust and will help the tiles adhere to the wall better. Work from the top down, covering each of the walls within the shower. Let the primer dry completely—usually around 15 minutes.
2. Apply a Waterproofing Membrane
Once the primer has dried, you have to apply hydrothane WP1 or a similar waterproofing membrane. Apply the waterproofing coating liberally, making sure the corners meet. Then cut some of the waterproofing tape and put it in the corners. Paint over the tape, securing it. After you have sealed the corners, continue painting the primed walls with WP1.
3. Add a Second Coat
When the first coat has dried, you can add another coat. Work in the opposite direction of the first coat to cover any gaps. Although you can start working on tiling soon after the second coat has dried, it is recommended that you wait an additional 24 hours for the waterproof coating to set.
4. Begin Tiling
Congratulations, the area has been waterproofed! Now, you can move onto tiling the wall as you would any other.
How Do You Waterproof a Shower?
We have already covered one method of waterproofing a shower when you tile it, but, as you’ve seen, there is more than one way to go about it. The following how-to is going to take you through the entire process of waterproofing for a new or remodeled bathroom.
1. Prepare the Shower Area
If you are planning on constructing a shower from scratch, the first step to waterproofing is laying the proper foundation, such as fiber or cement backing board. With these materials in place, every other waterproofing material can be easily applied. If you opt to use cement board, be sure to apply cement board tape to corners, seams, and joints.
Another option popping up in home improvement stores is galled greenboard, a type of drywall that is fabricated to withstand moisture and mold.
2. Section Off What You Are Waterproofing
Measure out the area of the shower stall then create an outline with some painter’s tape. This helps you find the places where you will be applying waterproofing materials later on. Make sure you have enough waterproofing materials on hand to extend slightly farther than the section you have taped off. It’s not mandatory, but it is extra assurance. Better to be safe than sorry, right?
Also, some building codes may require you to extend the waterproofing line out from the shower by 100mm or so. Be sure to check your local regulations to make sure.
3. Cut The Reinforcing Membrane
Reinforcing or sheet membrane will need to be measured and cut to fit the flat sections of your shower. You will also need to cut sections out to fit the shower head, knobs, and valves. While you are at it, make sure your valve is at the right height. Next, cut a few thin strips to cover the corners of the shower.
Why do you want to use sheet membrane? For an added layer of waterproofing protection. There are multiple membrane kits available that come with preformed or molded membranes to seal your shower up tight.
Don’t install the reinforcing membrane just yet.
4. Apply Paint Primer
Use a generous amount of primer on the surface that you want to waterproof. Wait for it to dry before moving on.
5. A Coat of Waterproofing First
Now that the primer has dried, you can apply a waterproofing coat to the areas where you wish to install the sheet membrane.
6. Install The Membrane
Carefully position the membrane on the places you have just applied the wet coat then stick it to the wall. Start at the top of the strips then move downward, pressing it into place as you go. You can gently run a trowel over the membrane to smooth out any air bubbles that may have developed. Optionally, you can add another coat of liquid waterproofing with vertical strokes.
Once you have installed the membrane, go back over it, horizontally this time.
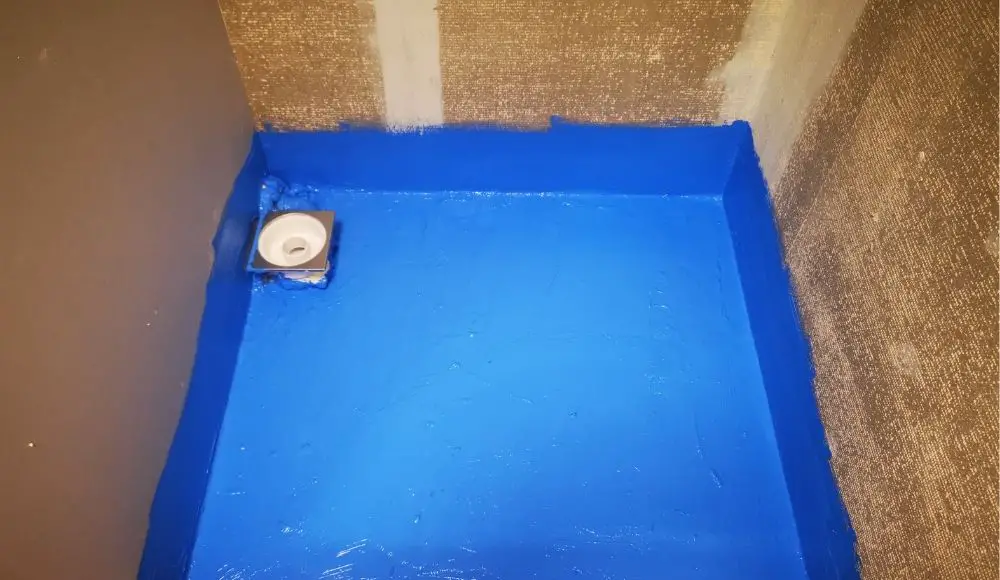
7. Waterproofing the Shower Floor
If you opt to use a floor tray, install that before doing anything else with the floor. You will need to drill a hole for the drain. Apply a coat of liquid waterproofing to the floor tray before continuing on.
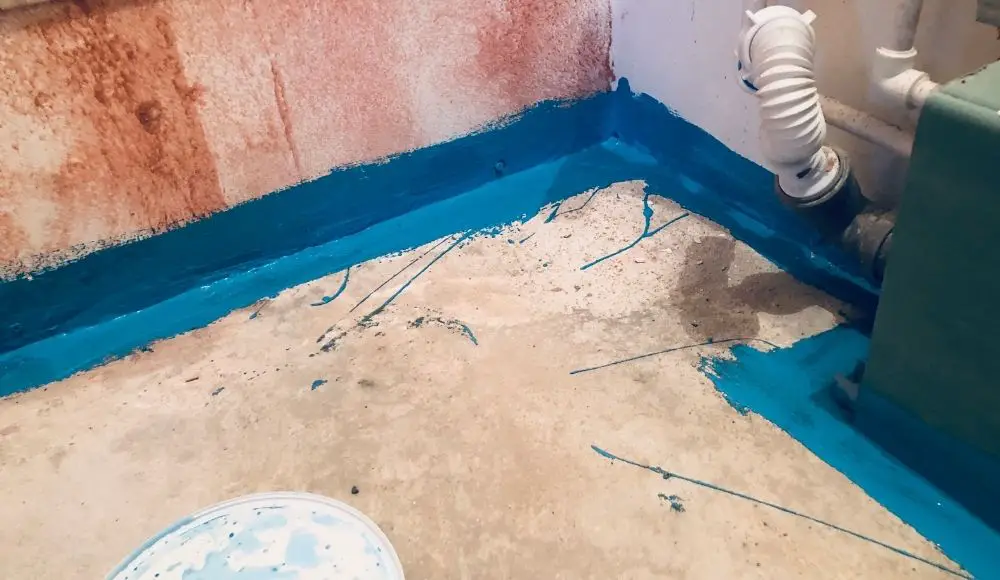
In the joints where the wall meets the floor and around the drain, install more sheet membrane. Paint the area first, put down the membrane, and then paint over it a second time. Once the membrane is installed in these places, you can waterproof the remainder of the floor. Allow time for the first coat of liquid waterproofing to dry before moving onto the second. Again, go vertical strokes followed by horizontal ones.
Sealing the Top Edge of the Shower
There is a place in the shower that is a little like a gray zone. It’s not tiled, it’s not a shelf, and it’s unreachable enough to make cleaning it quite the task. The top edge of the shower is where tiles or another shower material meets the wall before the ceiling, and it’s a place that needs waterproofing no matter what.
The easiest route for sealing the top edge of the shower is to apply silicone caulk. If there is a gap larger than 1cm, install a backer rod—a foam made precisely for this space.
Tips for Using a Liquid Membrane Like Redgard
Always read the product label. Pay close attention to any warnings on the product, since many waterproofing membranes contain chemicals that are hazardous to your health. Note that these tips apply to waterproofing membranes like Redgard, not just the one product.
- Room temperature: Make sure the room is not freezing. Most waterproofing membranes need to be applied when the temperature is at least 40 degrees Fahrenheit. That temperature must remain above 40 degrees F for at least 72 hours.
- Safety: Always wear PPE when handling waterproofing materials. Use chemical-resistant gloves, eye protection, and respirator if you don’t have adequate ventilation.
- Application: Redgard and similar products are designed to be applied to concrete, backer boards, gypsum drywall, and plywood. It is not meant to be applied to tile or other common shower materials directly.
- Surface prep: Repair all defects before applying a liquid membrane. Also make sure you have cleaned and dried the area.
- Curing time: Liquid membranes take about 1-2 hours to dry, depending on the temperature and other conditions, like humidity. Be prepared to sometimes wait an entire day for the product to dry. Usually, there will be some kind of visible cue that the membrane has cured. For instance, Redgard goes on pink but dries red.
How Many Coats Should I Apply?
Two coats of liquid waterproofing membrane is the minimum. Most liquid membranes will specify in the directions how many coats you need and how long you need to wait between coats for curing. Always wait 24 hours before applying the second coat—and if you want a third, wait another 24 hours.
When you apply your first and second (and possibly third) coats correctly, liquid waterproofing membranes can last for up to 10 years!
What Kind of Tape Should I Use For Cement Board?
Waterproof seam tape is integral to a properly waterproofed shower. Make sure you are using the right type for your backer boards. PVC self-adhesive caulking sealing tape does well, but a more popular option is 2-inch alkali-resistant mesh tape.
How to Tell if Your Shower is Waterproof?
Before you go and do all of this to a preexisting shower, it may be wise to check if your shower is already protected from mold, mildew, and water damages. There are some signs that there is little to no waterproofing, such as rotting skirtings and floorboards; dampness on the carpets; the presence of moisture-loving insects, such as silverfish; discoloration and other signs of water damage seen in rooms around the bathroom.
Yet, before these more blatant issues occur, there are other indications of less than ideal waterproofing:
- The puddle flange with incorrectly installed
Cracking around the borders of tiles - Visible pores in the grout on the walls and floor
- No silicone seals around the studs in the shower
- No silicone around the joints of walls and floors
If you see any of these above mentioned issues or a mixture of them, it is highly likely that your shower desperately needs to be waterproofed.
Conclusion
Waterproofing a shower might seem like an ordeal, but it is actually a DIY-friendly task. You just need a little patience while waiting for the primer and liquid waterproofing coats to dry. Other than that, work slowly and deliberately, and you won’t ever have to worry about moisture, mold and mildew for a long time!
